Dining Room Renovation Wall Molding

Hey ya’ll! Welcome back to another week of my dining room renovation! I’ve been busy to say the least. I just wrapped up a busy season at my 9-5 job and wedding season is officially here which means my henna business has me working late nights and weekends.
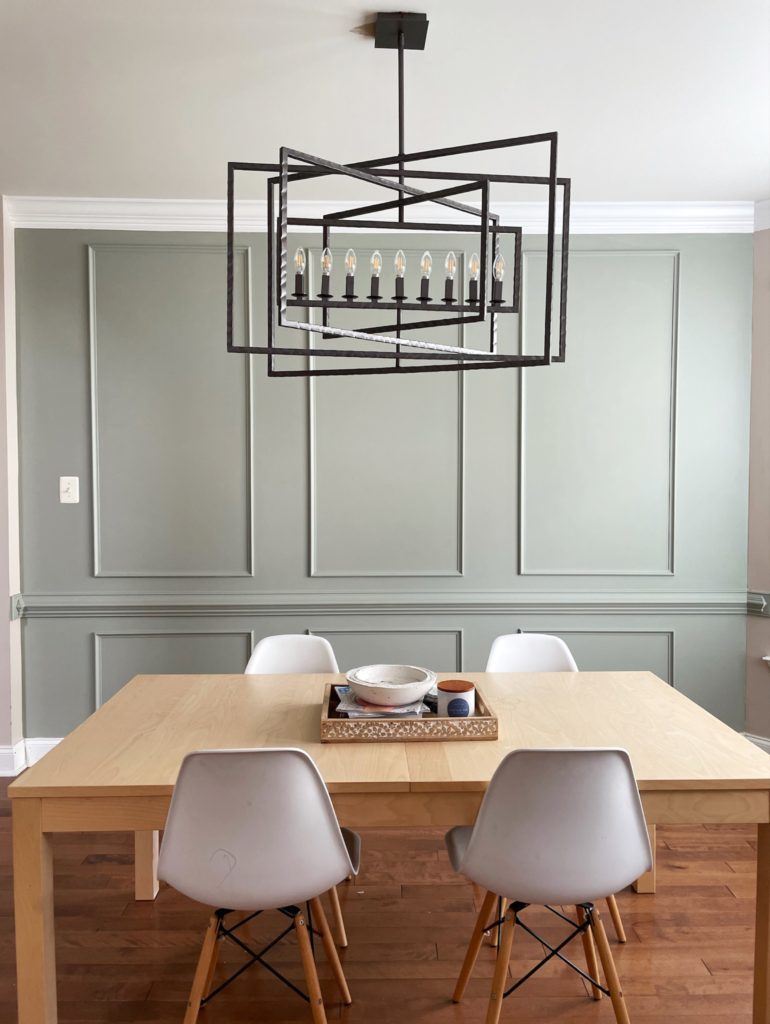
A lot has happened in the dining room and I am already so obsessed with it! The main feature for this space was going to be the wall molding. The dining wall already had a beautiful chair rail so I played off of that and added molding to the top and bottom of the chair rail.
How to add wall molding
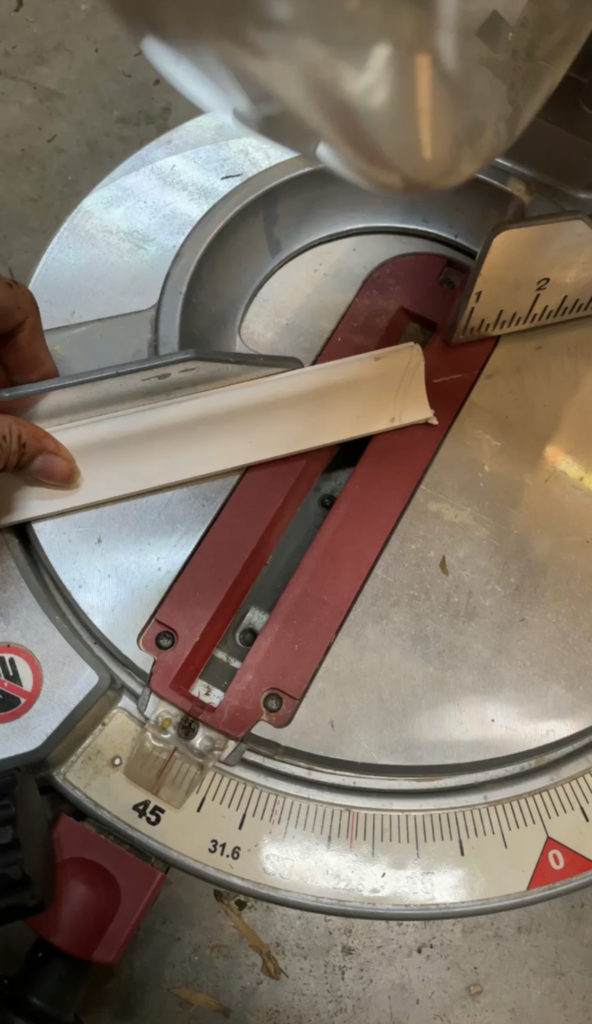
People are usually intimidated by this type of project but as a first timer myself I have to say it was pretty easy. I own a mitre saw so it made cutting the trim a lot easier but you can always get a hack saw and cut them manually if you’re not ready for power tools yet.
Visualize the space
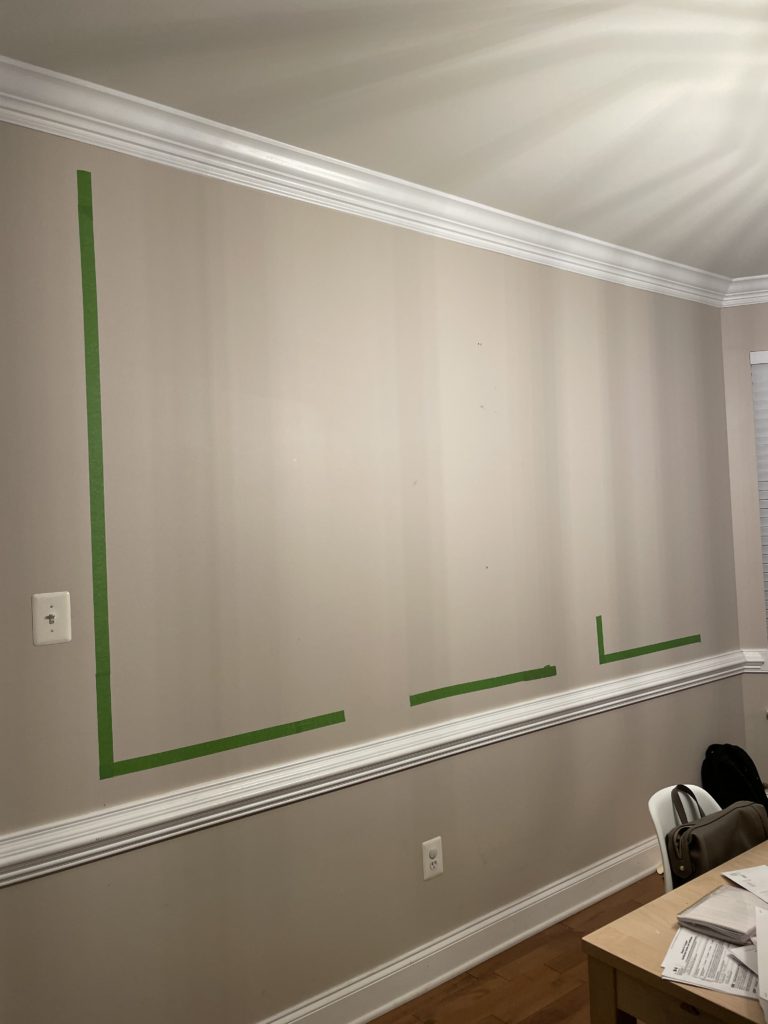
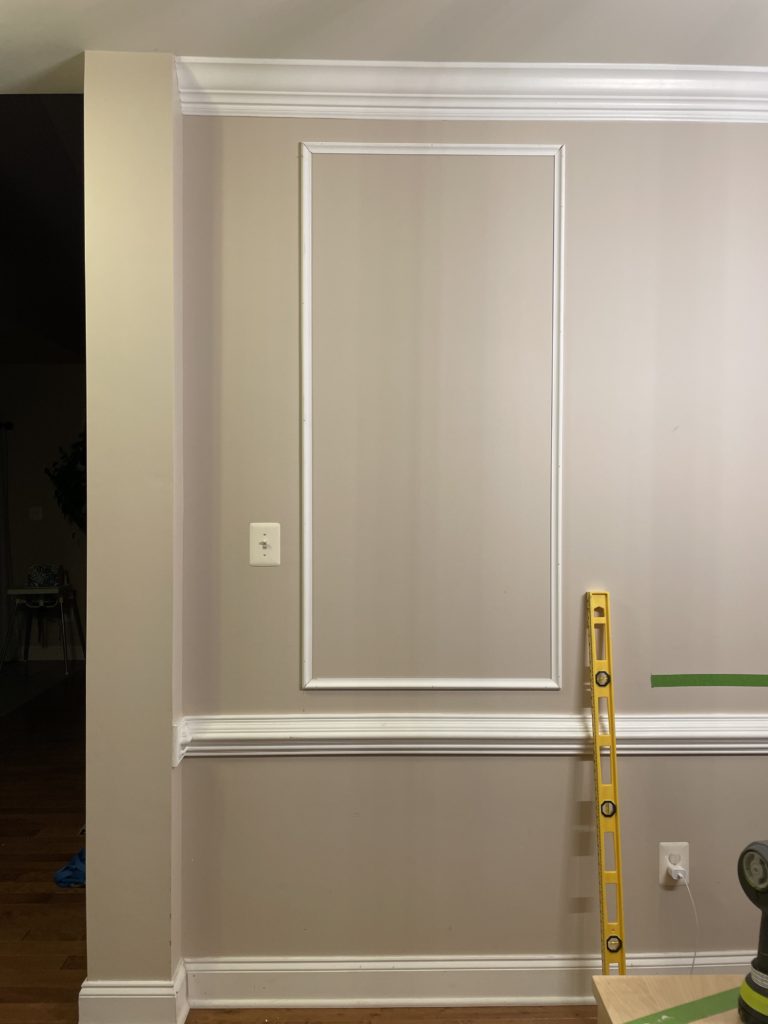
First thing I did use painters tape to visualize how I wanted to the molding to look on the wall. I ended up going with 3 picture frames spaced out evenly across the wall on the top and bottom. I measured 3 inches space above the chair rail, under the crown molding (ceiling molding) and under the chair rail. This allows for even spacing all throughout. The picture frame molding was 61.5″ X 30″ up top and 17″ X 30″ down below. I left 11 inches of space in between each frame. I ran out of painters tape at this point so I just visualized it in my head.
Measure twice and cut once
Next I purchase eight 8ft general purpose finger jointed base cap moulding from The Home Depot. Also, note that I did not measure how much I would need. I was way too impatient and ended up eyeing it. Of course, I ended up going back and purchasing 2 more. After the kids went to bed, I stayed up late into the night cutting the trim to size. This part took the longest because it’s better to measure 100 times and cut once otherwise you will have a lot of wasted (not to mention expensive) trim. Each piece was cut at a 45 degree angle to get that perfect finish on the edges.
Attach trim to the wall
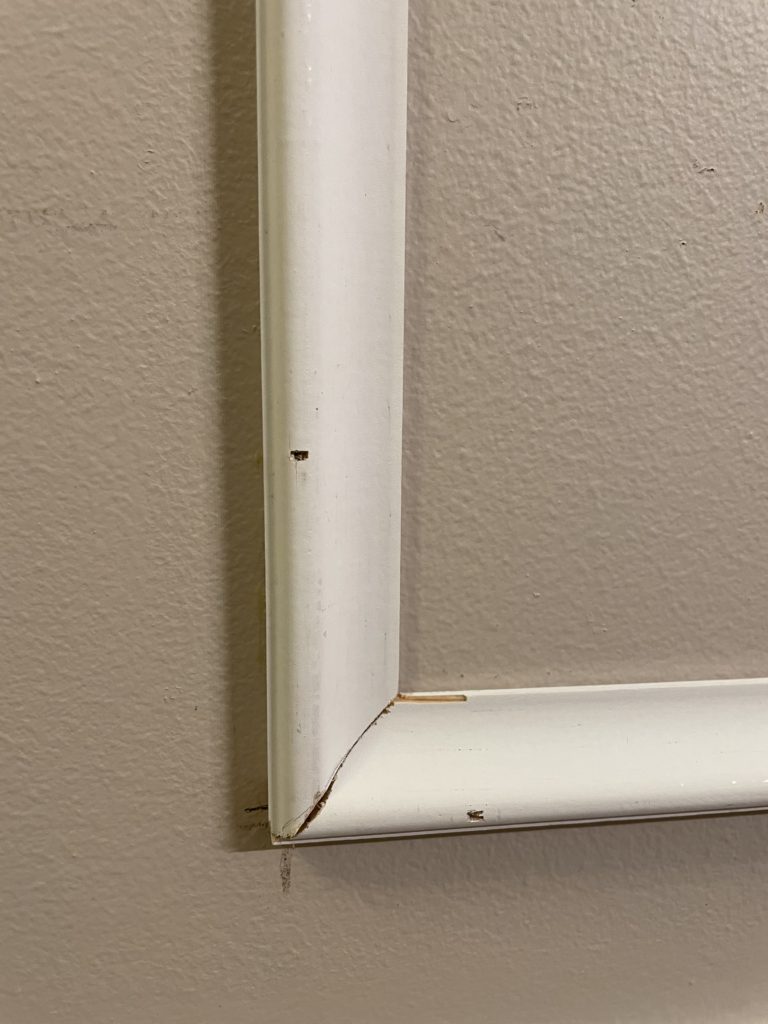
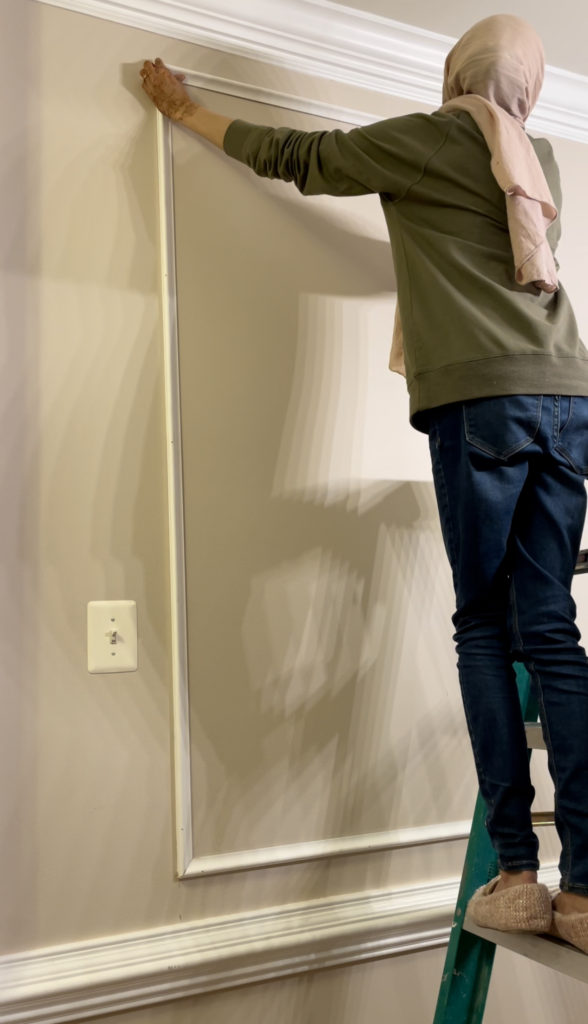
To secure the trim to the wall, I used liquid nails and a nail gun. I had my leveler handy to make sure I lined it up perfectly. Next, I used wood filler to fill in the nail holes and the seams on the ends. Lastly, I used painters caulk to blend the trim and the wall together.
Paint!
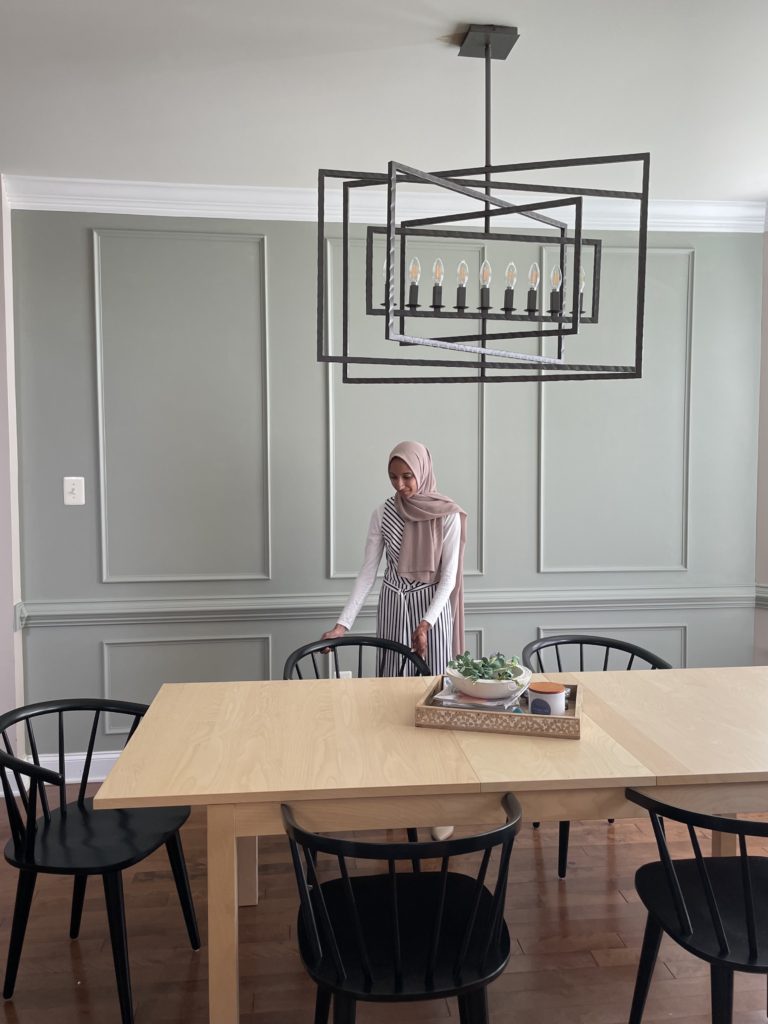
Voila! I just made my dining room look custom and it automatically made the space feel more open and taller. Last but not least, I painted the wall and molding included with the color Escape Grey by HGTV Home by Sherwin Williams. It’s the PERFECT sage/gray color that I was looking for.

Stay tuned for next weeks blog post for the final reveal!