DIY Ramadan Calendar
Ok I’m not gonna lie, I’ve been dying to make a Ramadan calendar since Hoda was born. I’ve been waiting for Hoda to get a little older so she can understand the concept of a Ramadan and I finally think she is ready…or maybe I’m just to excited to make one! Either way, I am so happy with the way my DIY Ramadan calendar turned out. It was exactly how I envisioned it. Hoda’s involvement in the process was so heartwarming that the hours spent on it was so worth it!
Ramadan is about a month away and one of the many traditions I have started to prepare our house for Ramadan is to decorate the place and make Ramadan a special time for our family. I hope to continue this tradition for years to come and I hope that my kids will pass it along for generations Insha’Allah. Today I’m super excited to share exactly how I made this Ramadan calendar and what I plan to put in the daily envelopes.
DIY Ramadan Calendar
What you will need:
- 1 yard any color felt fabric (I chose the main color as a deep purple)
- Lots of different color felt sheets ( I used teal, burnt orange, dark pink and navy blue)
- Hot glue gun
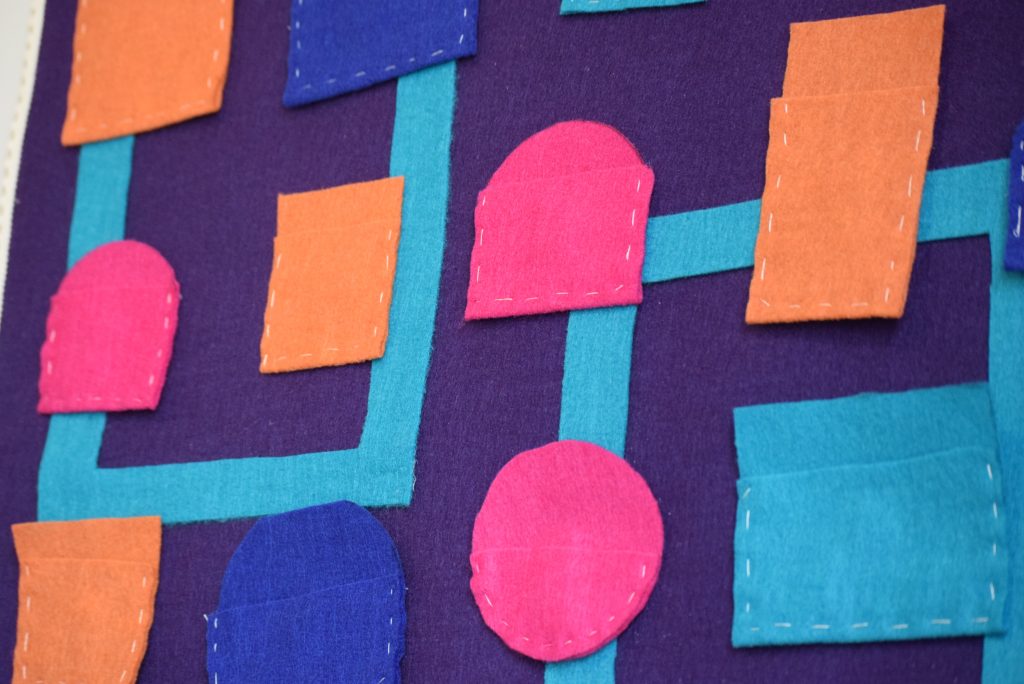
- Sewing needle and thread (I chose white to make the stitches stand out)
- Variety of ribbons for embellishments
- Fabric paint to write the numbers
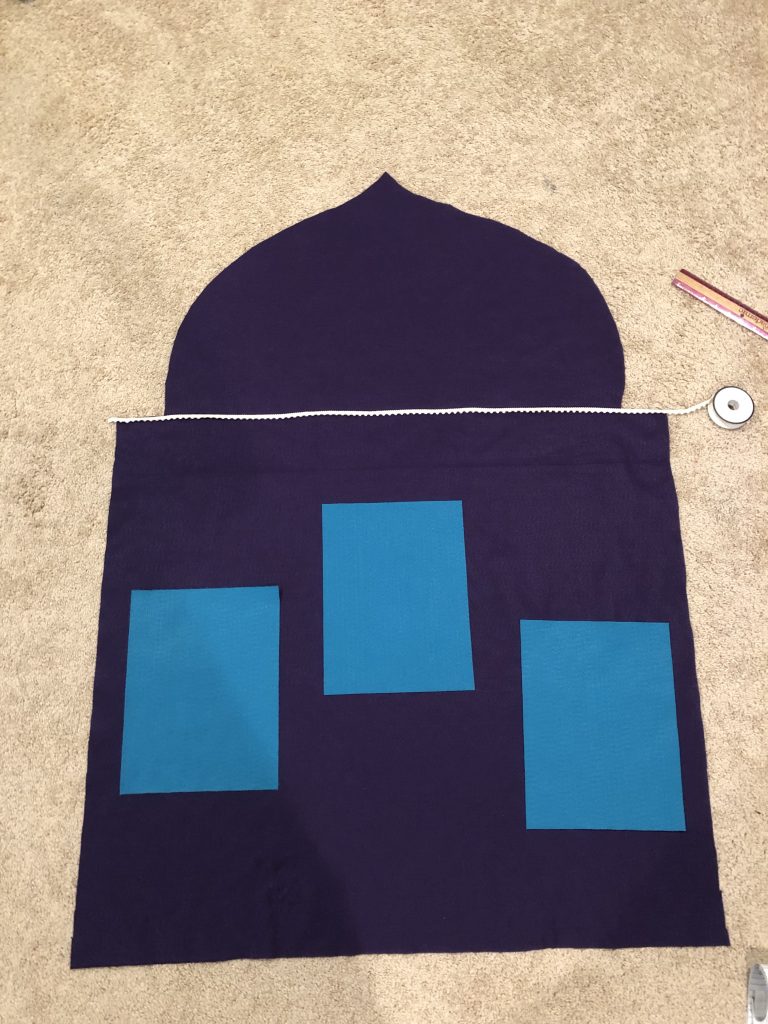
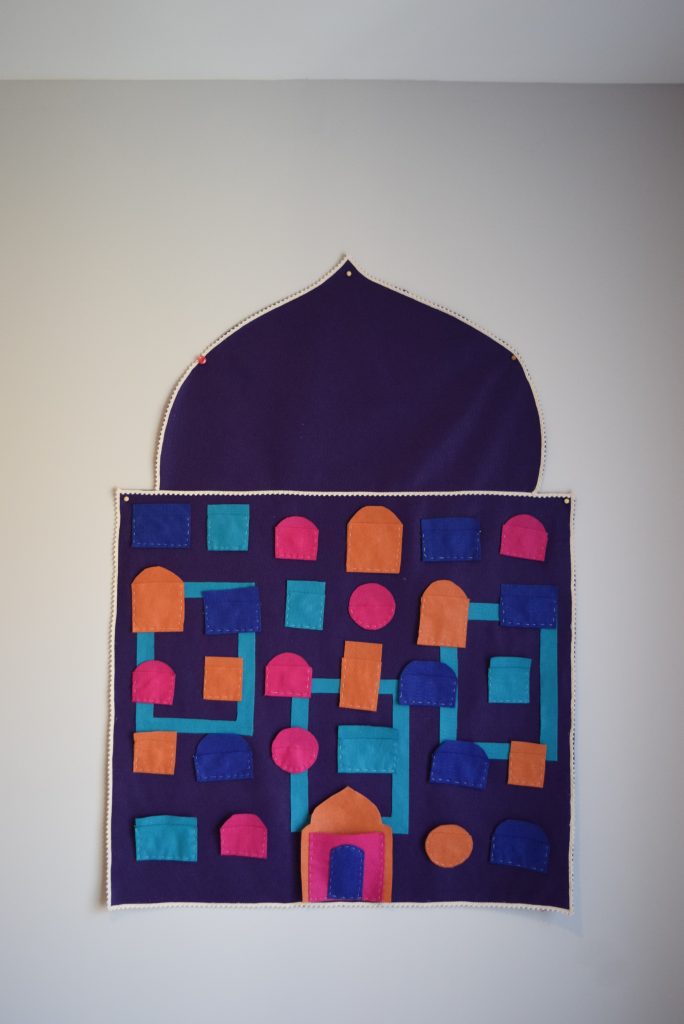
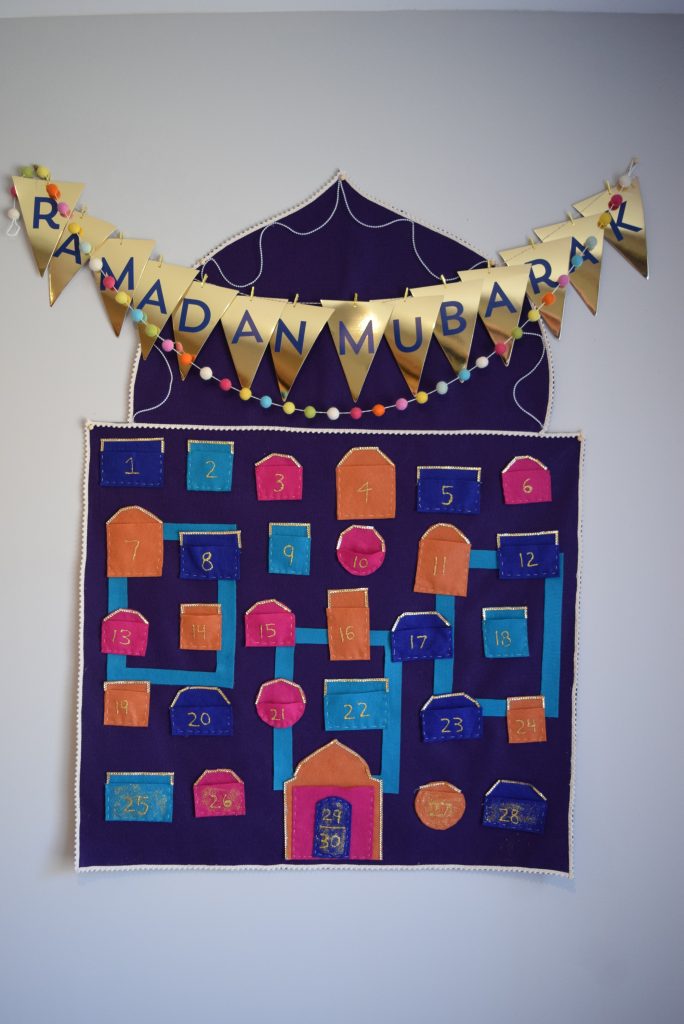
I first laid out my large piece of felt fabric and measured out shape of the calendar. Initially I was going for a lantern shape but I didn’t have the proper measuring tools for it so I stuck with a more classic minaret shape. After measuring the square part, I eyed the shape of the dome and freehanded it. Once it looked right, I cut it to shape.
I chose the blue/teal felt sheets to make a cut outs that look like windows and placed it on the calendar using a hot glue gun. The image doesn’t show it here but I cut the rectangle pieces to look like a frame.
Next I used a small tassel ribbon to frame out the entire calendar. It hides any imperfections and makes it look cohesive so I definitely recommend adding that little detail. I also added a line of ribbon under the dome for a more defined shape.
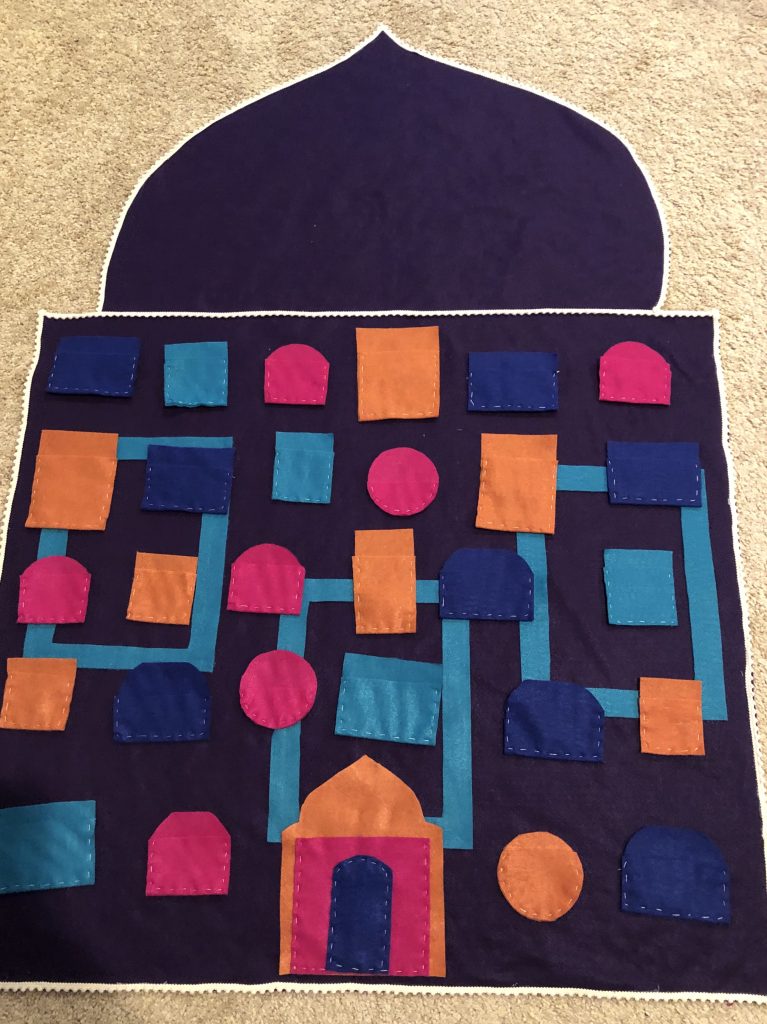
Once the main piece is done, cut out a variety of shapes using the different color felt sheets. I made rectangles, squares, circles, half circles, etc. The more imperfect they are, the more handmade they look. Have fun with shapes and do whatever you think will look good. Just remember you have to make about 30 so don’t go too crazy.
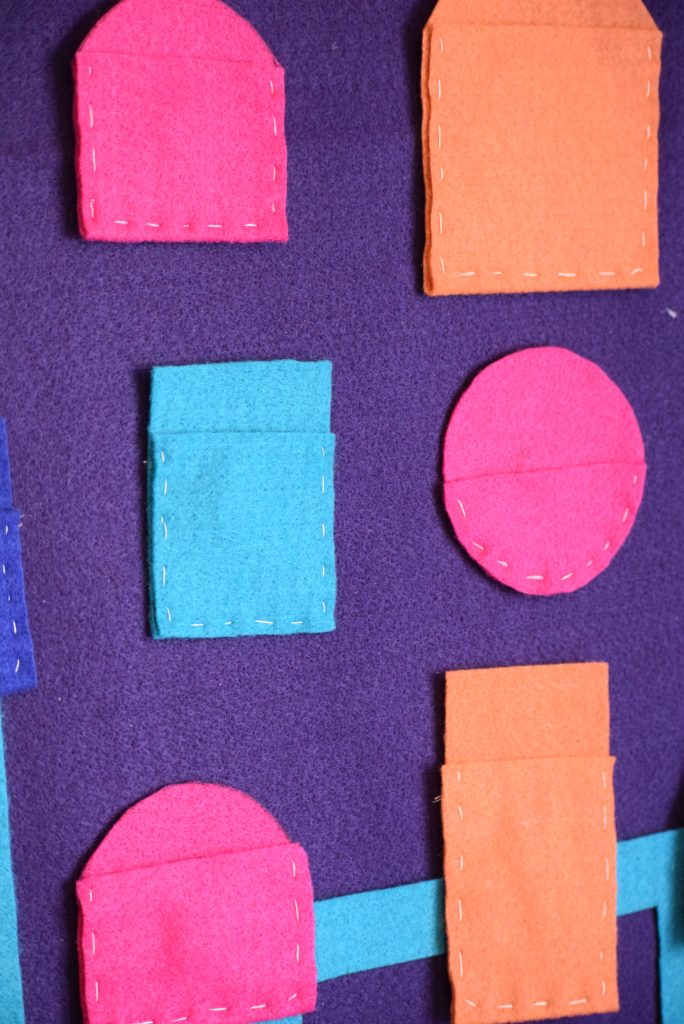
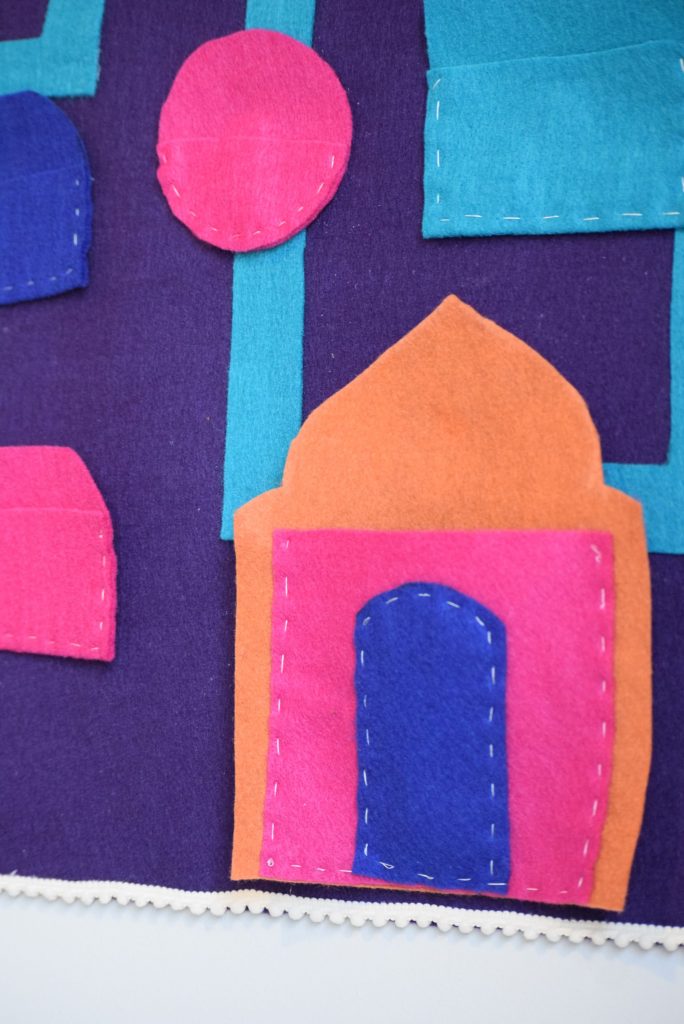
I cut out 28 different shapes and saved the 29th and 30th one for a more elaborate design. Since ideally you would open those the night before Eid, I wanted it to look special so I created a lantern shape pocket.
Once all the shapes are created, use your thread and needle to sew the pockets. To make the pockets, cut out the same shape and just cut an inch from the top. Sew the three sides and leave one side for the opening.
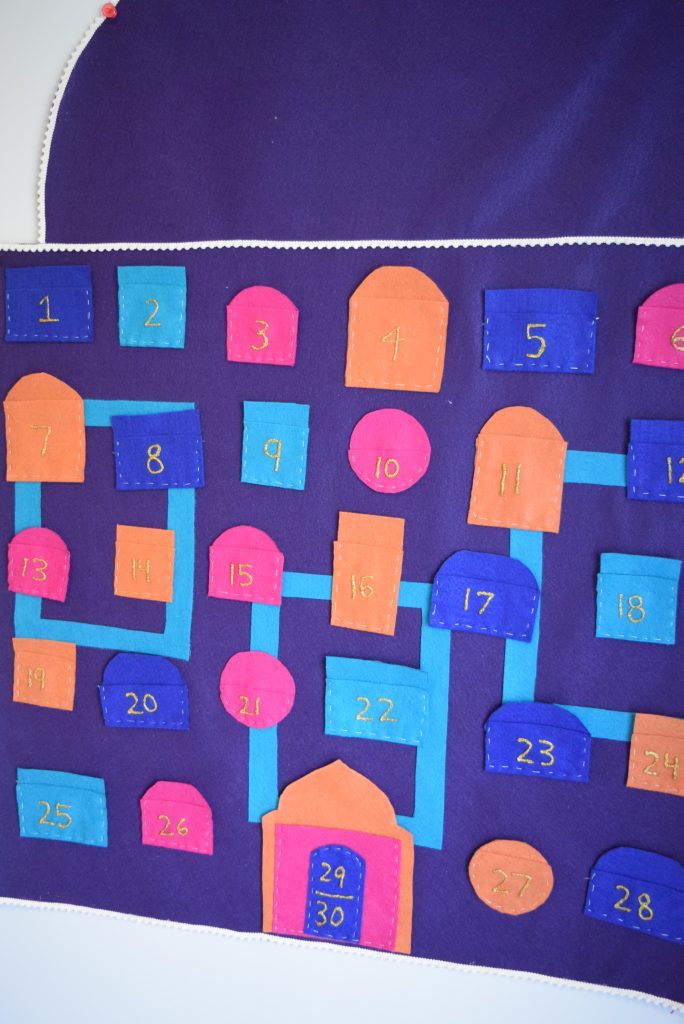
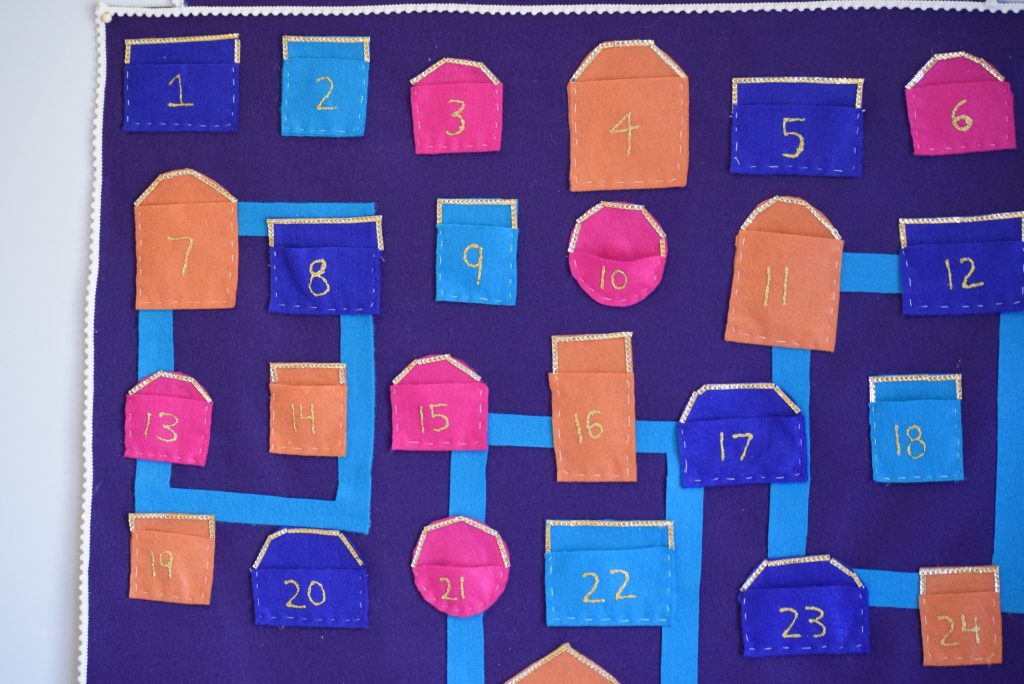
Place all the pockets as you wish and glue them onto the calendar using the hot glue gun. I added gold ribbon embellishment on the pockets to add more texture and define the pockets even more. Using gold fabric paint, I wrote the numbers 1-30, 29 and 30 being on the last pocket.
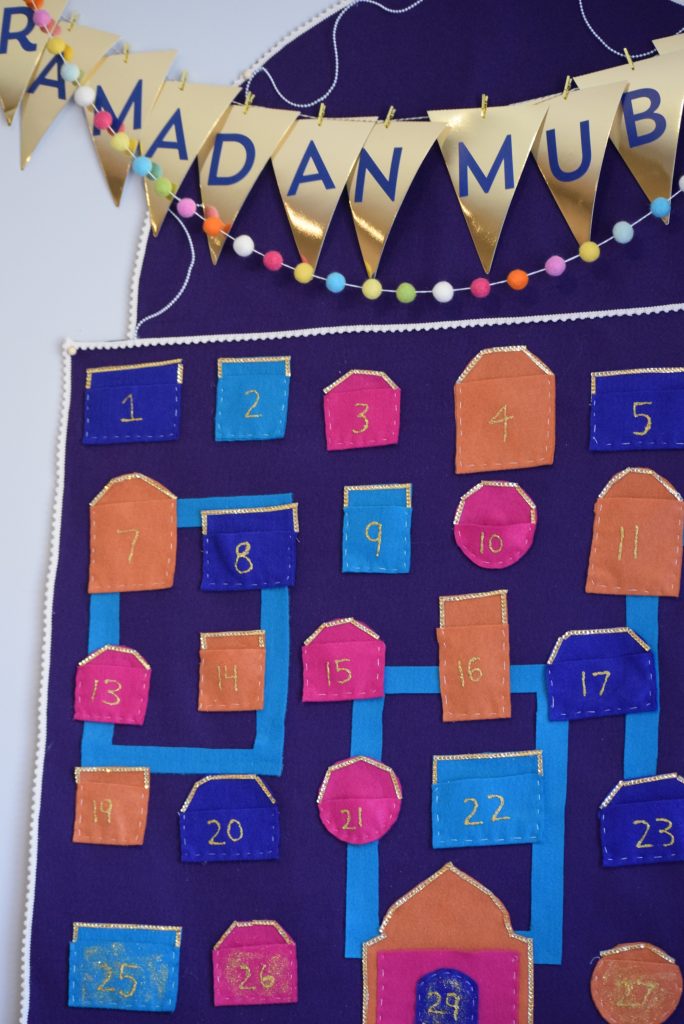
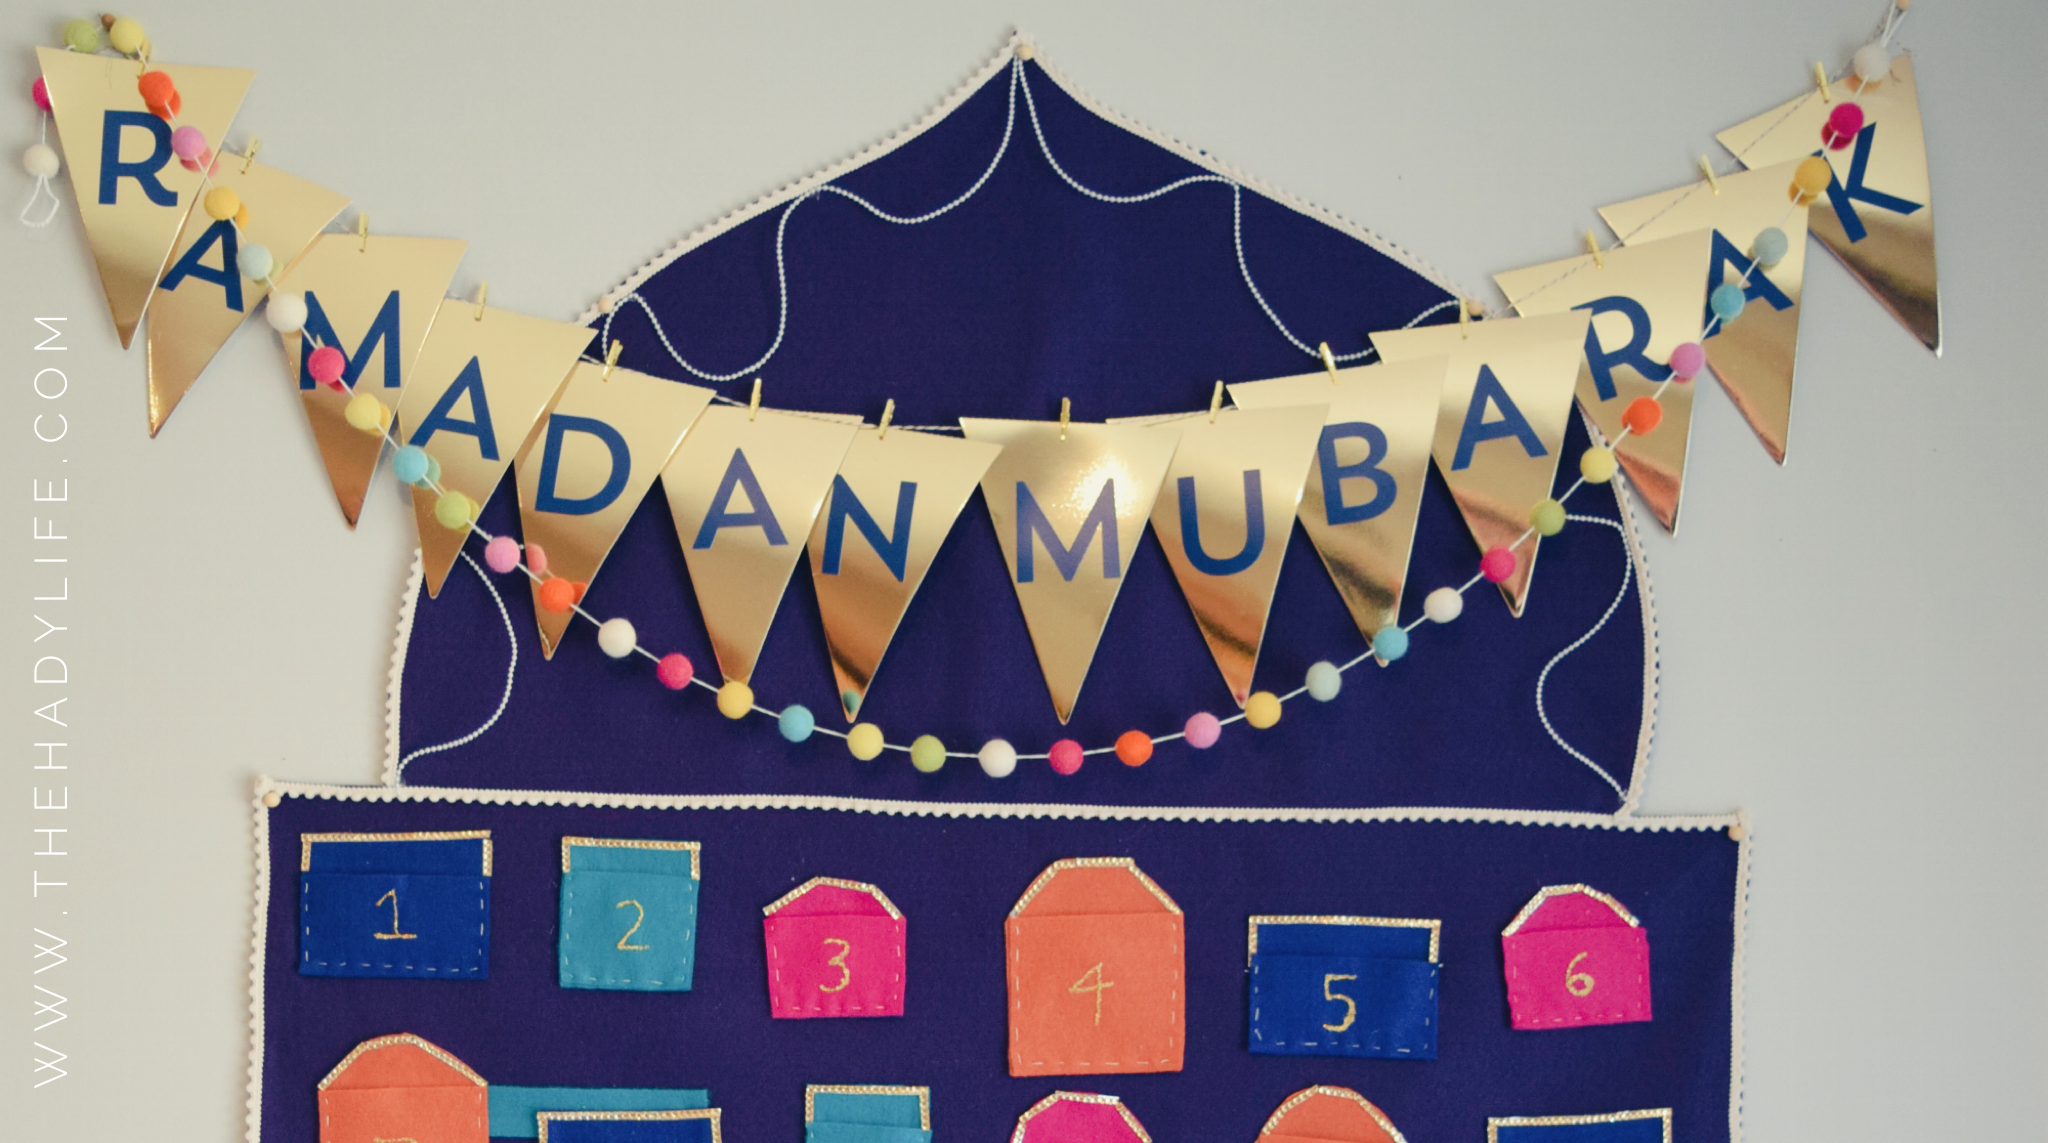
I added a pearl ribbon at the top of the dome and finished it off with a “Ramadan Mubarak” banner I made. I found the gold paper at Michaels, slapped some letter stickers on it and used tiny cloth pins to hold it up to a thin ribbon.
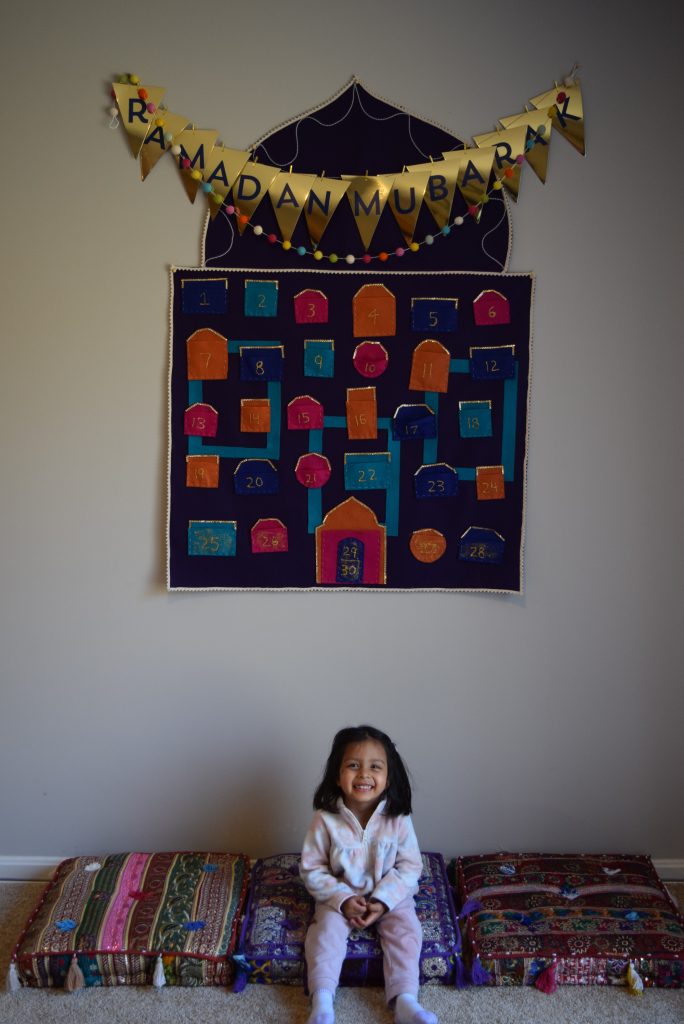
That’s it! It ended up being a lot easier than I thought. The hardest part a was choosing a color scheme and the most time consuming part was sewing the pockets. Overall, I had a blast making this calendar and knowing that we will be using this for years to come, makes it even more special!
What to put in the calendar
My plan for each day is to have a laminated flash card with an Arabic word of the day. After we learn our word for the day, it will be followed by a corresponding activity whether it is an arts and crafts activity, cooking, outdoor play or reading a corresponding book. Some pockets will have candy treats in it. Toward the end some activities will include wrapping Eid gifts, baking cookies for our neighbors and putting on henna etc.
If you found this tutorial helpful, please give it a thumbs up! I hope this inspires you to make your own Ramadan Calendar. If you do make one, be sure to tag me in your pictures! I would love to see your spin on it! @thehadylife
Pinterest: The Hady Life
Instagram: @thehadylife
Facebook: @thehadylife