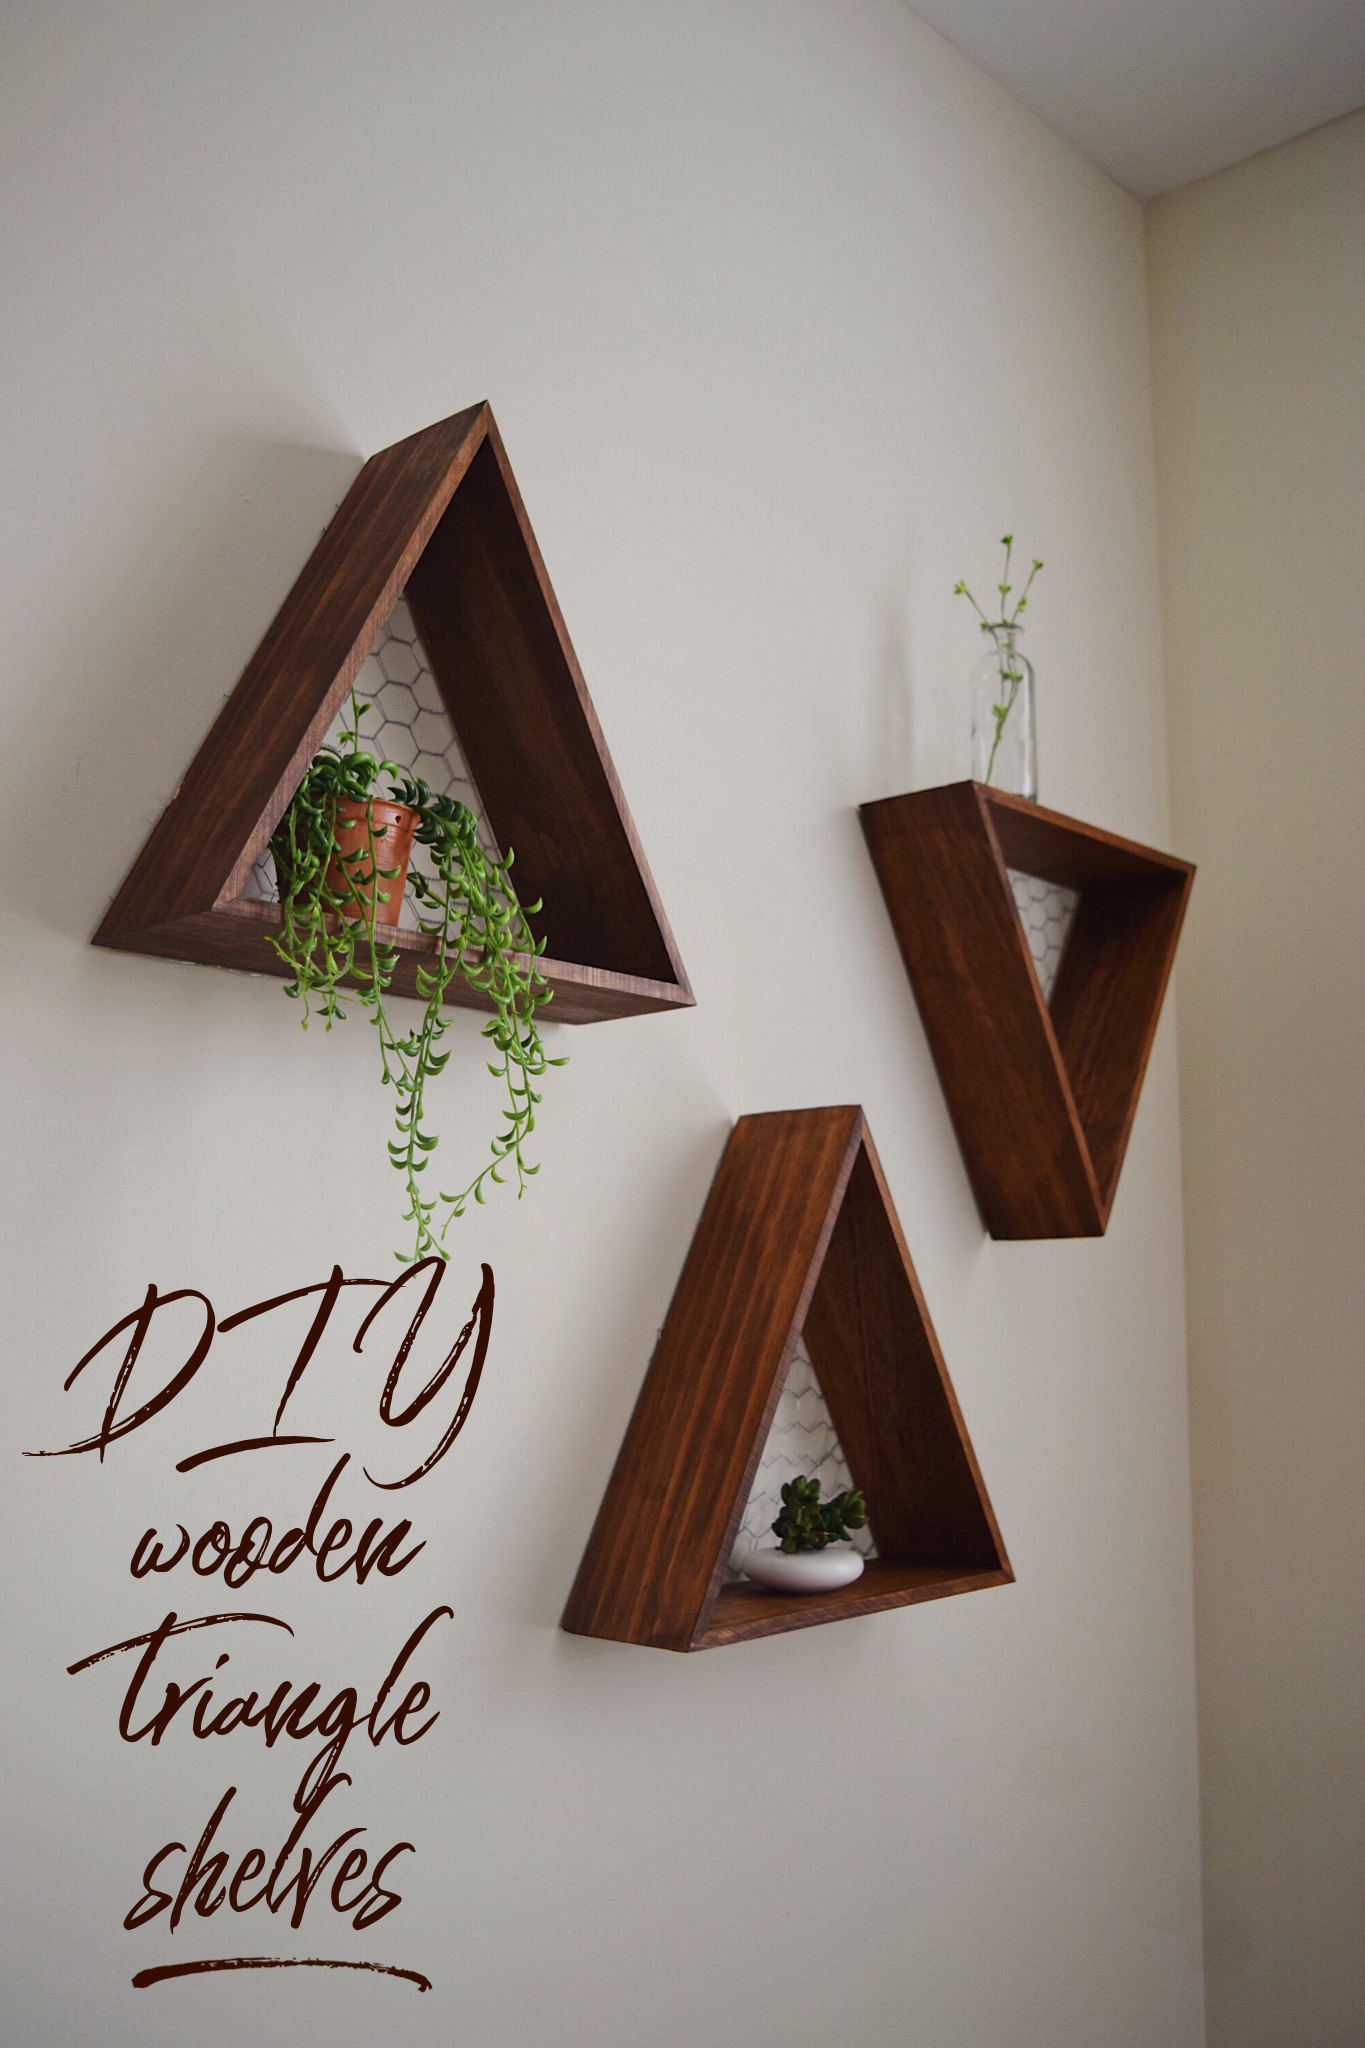
DIY | Wooden Triangle Shelves
I feel like I’ve been on a high with DIY home décor these days! Recently I’ve been looking into ways to furnish my home with décor pieces, especially in the living room. The wall are all white and they need a little more life. I made this awesome DIY wooden triangle shelves that adds the perfect touch to a plain white wall!
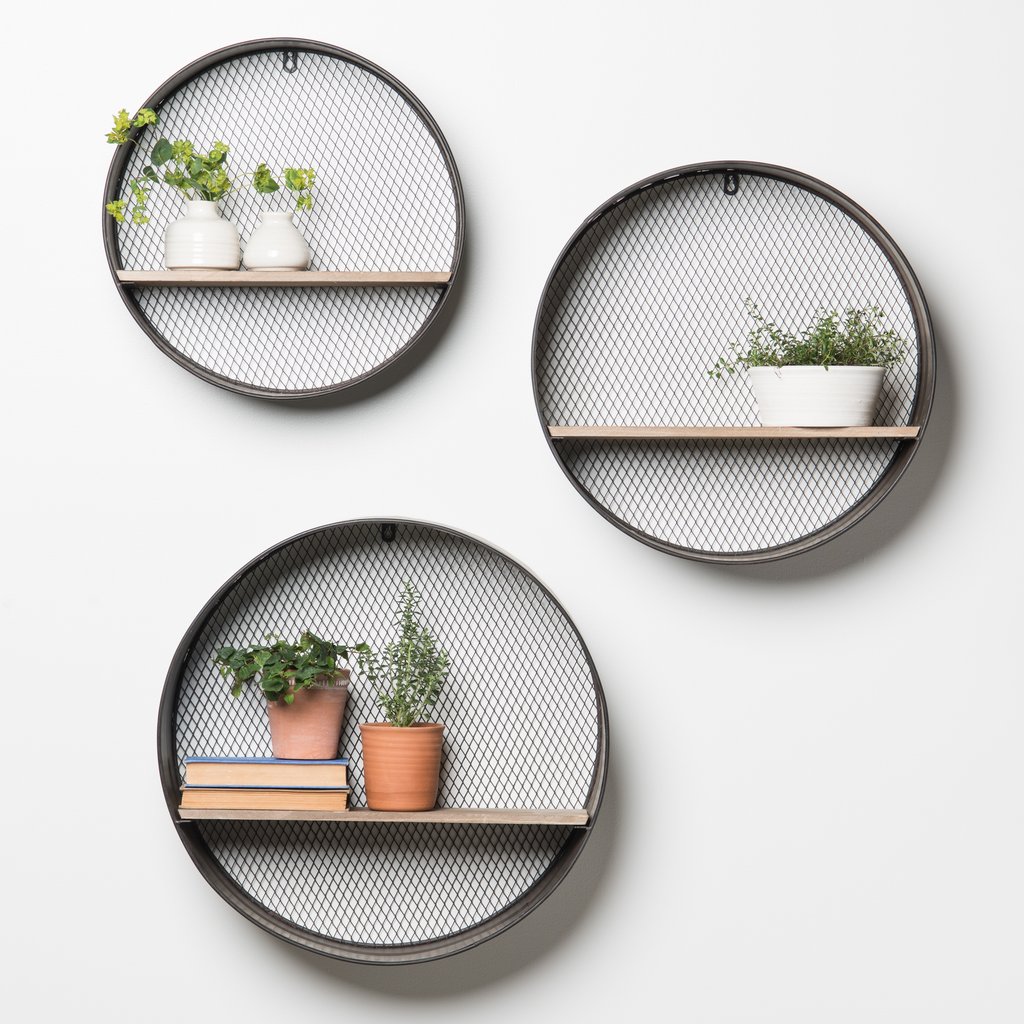
I was scrolling through Instagram like I do everyday and I came across this ad for Magnolia home décor. As I was scrolling I saw this unique set of wall shelves that I started imagining in my living room. I loved the round shape made with galvanized wood and the wire netting in the back was a unique touch. Even though I could have bought them from the website, I wanted to see if I could make them myself for a fraction of the cost.
I looked everywhere for something with a round frame and couldn’t find it so I went with triangular wood shelves that I think turned out way better! You won’t believe it but the entire project cost me less than $40! Also, it ended up being a lot easier to add décor pieces to it since it already has a flat side. I’m so happy with the way it turned out and I love walking past them knowing that I made those myself.
DIY Wooden Triangle Shelves
The inspiration:
Now, lets get started with the tutorial:
What you’ll need:
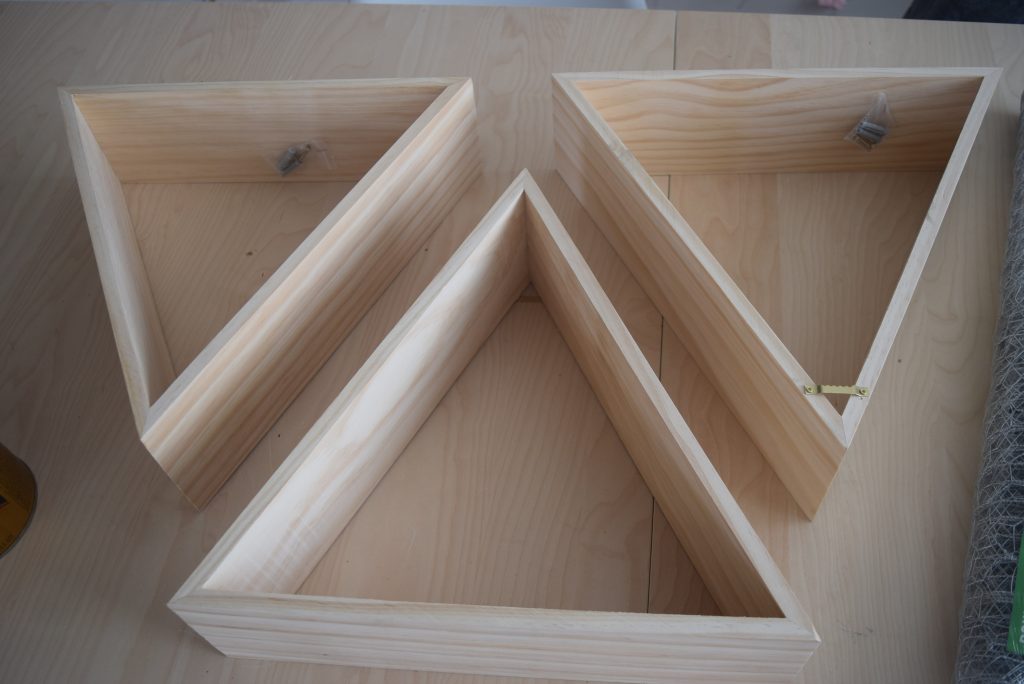
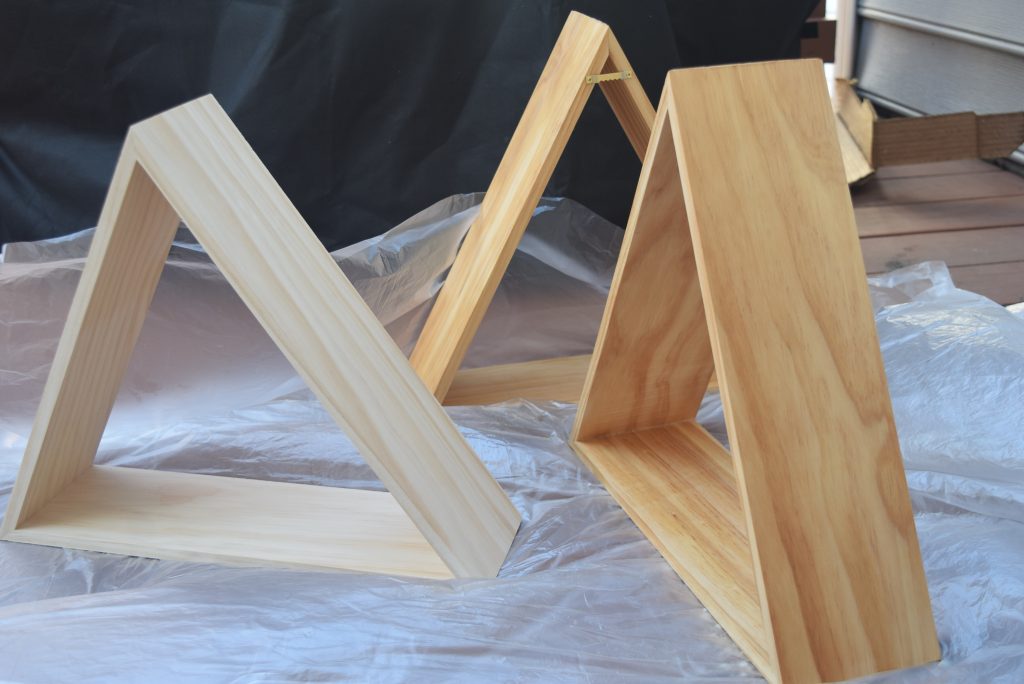
- 3 Triangular wood frames
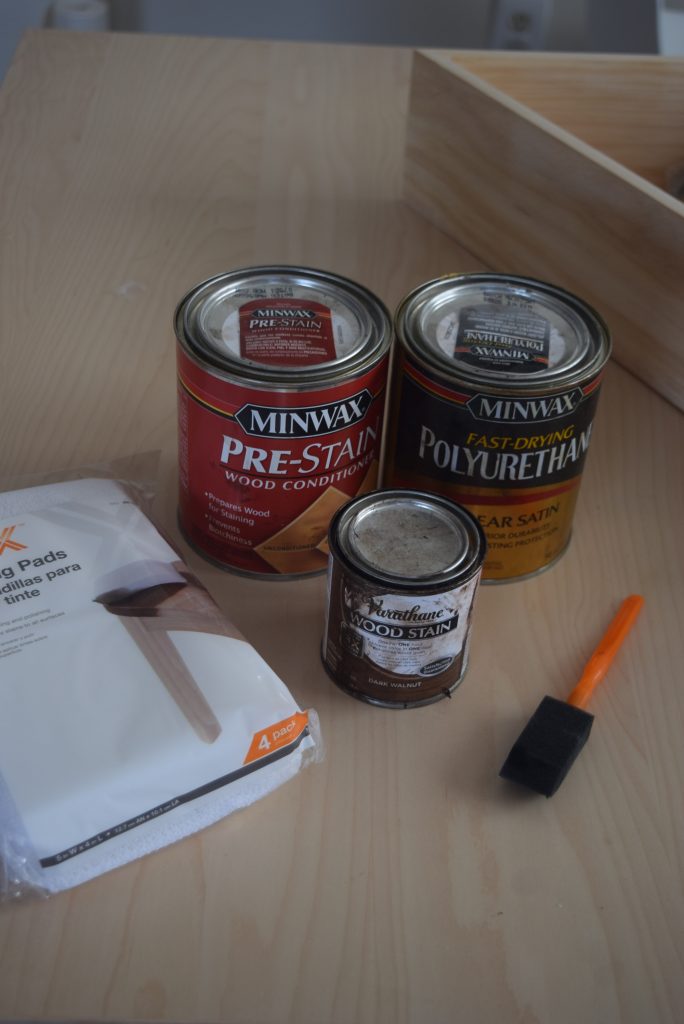
- Minwax Prestain wood conditioner
- Varathane Dark Walnut wood stain
- Lint free rag
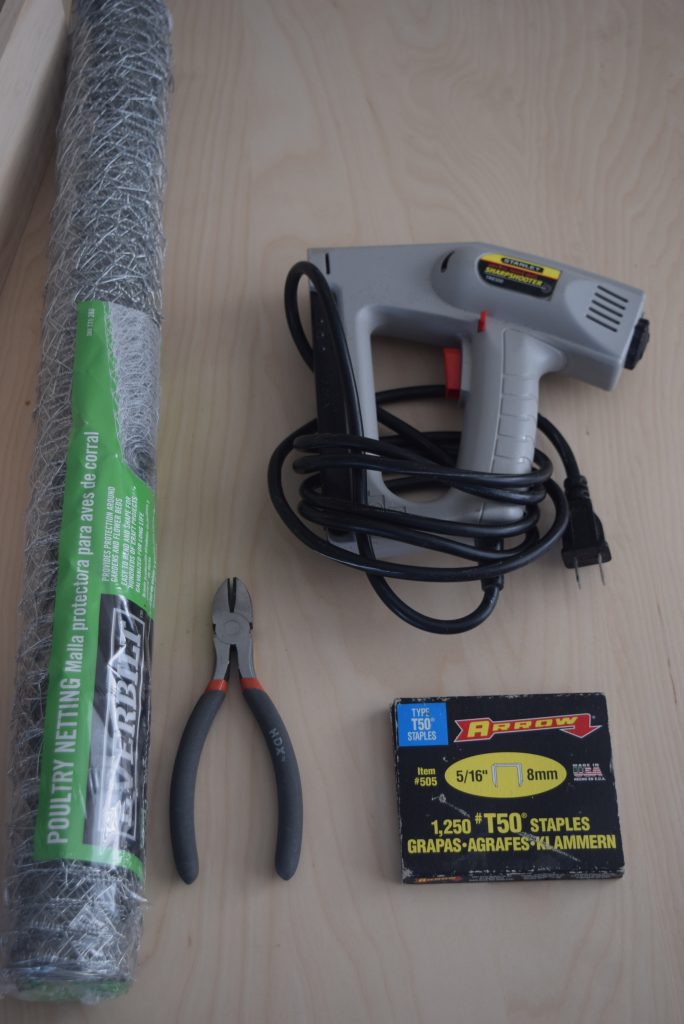
- Chicken coop wire
- Wire cutters
- Electric staple gun
- Staples for electric gun
How to do it:
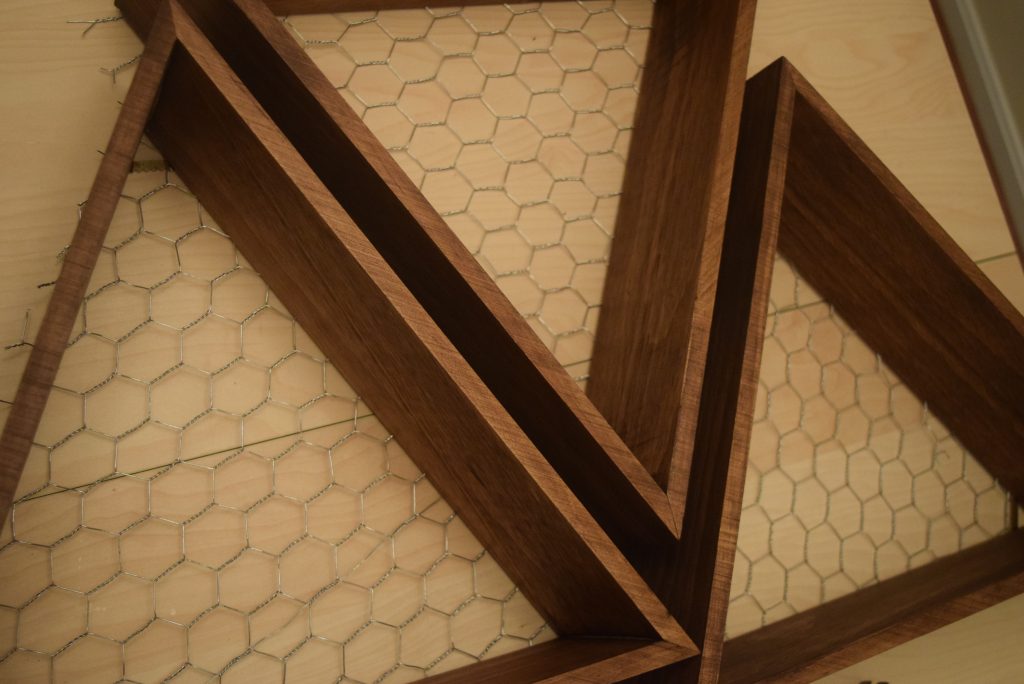
The triangular wood shelves were found at Michaels craft store for less than $7 each using the 50% off coupon.
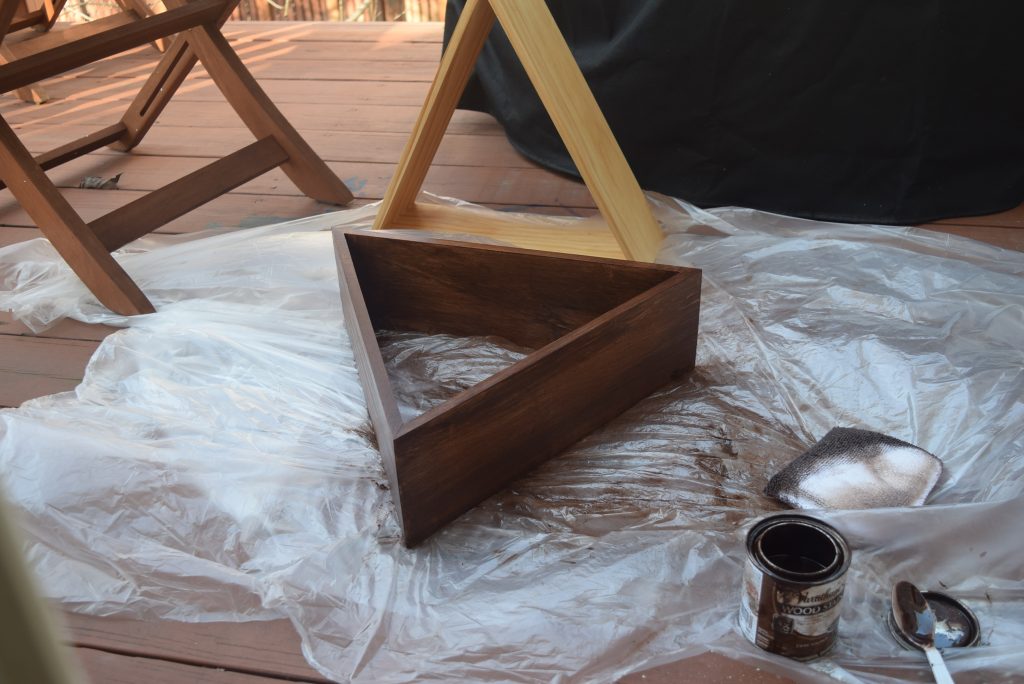
First thing you need to do is stain the wood unless you prefer to leave it unfinished. I decided to stain mine with the Varathane Dark Walnut stain. I used this in my previous DIY project so I had a ton left over.
Before you start staining, you will need to prime the wood with the Minwax pre stain wood conditioner. This allows the grain of the wood to pop out. Apply the primer according to the directions on the can and let it dry.
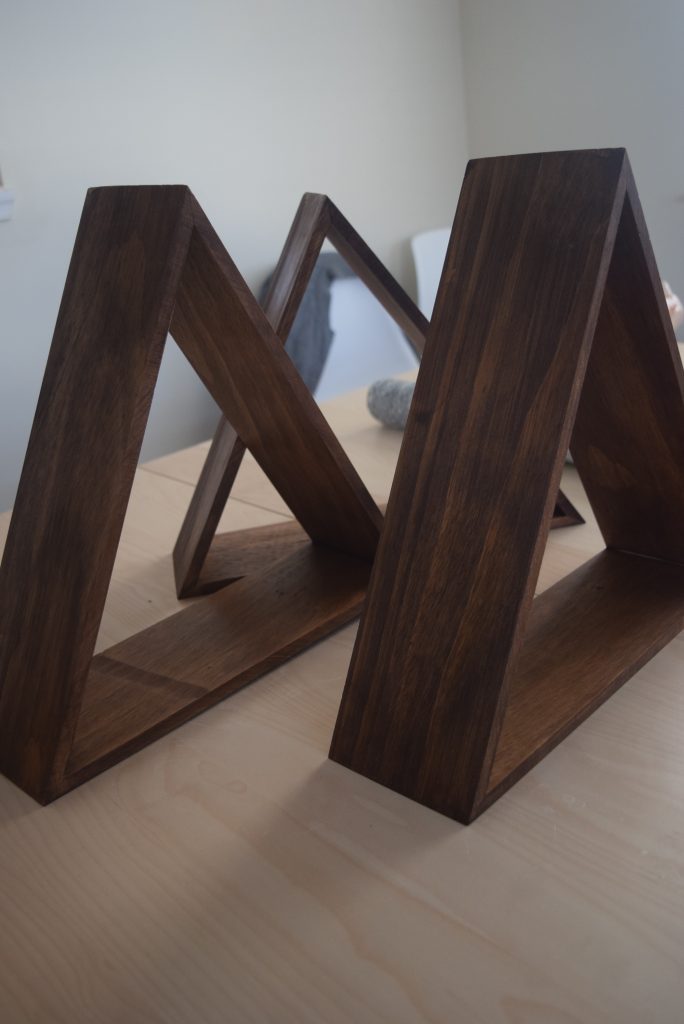
Next, start staining the wood with the lint free rag and let it sit for 5 min. After 5 minutes, wipe the excess stain with a clean towel. Once the stain dries go ahead and seal the stain with the Minwax Polyurethane clear coat but I decided I liked the raw look so I skipped this step. The polyurethane will give it a shine but I preferred the look without it.
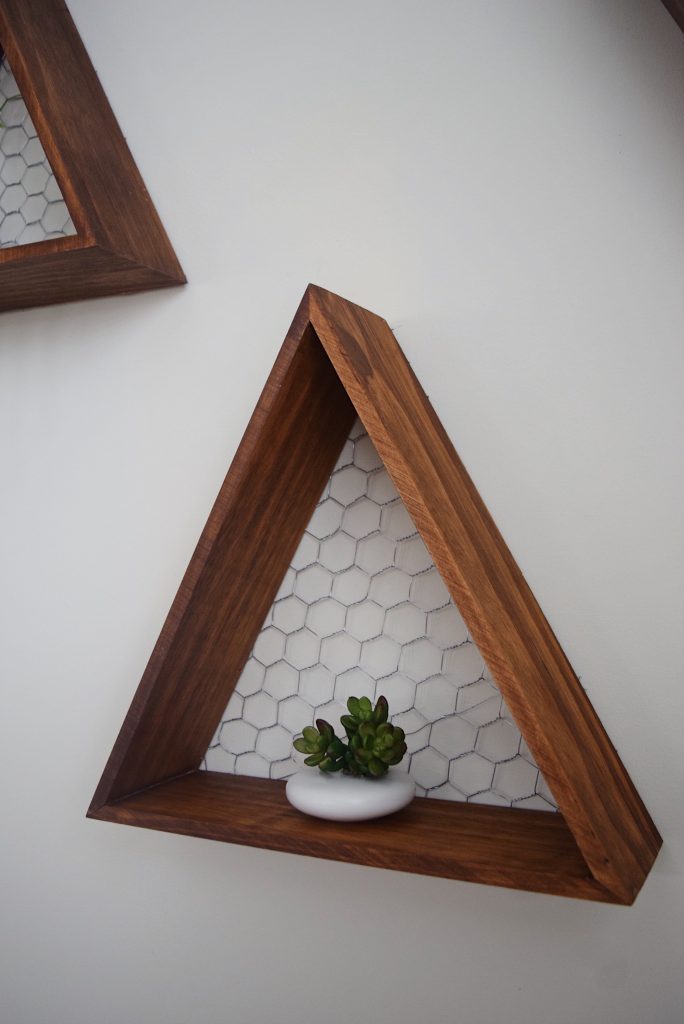
The original inspiration had metal netting along the back and I loved that about it so I figured out the best way to mimic it was to use chicken coop wiring. I bought the wire netting from Home Depot in the gardening section for less than $5.
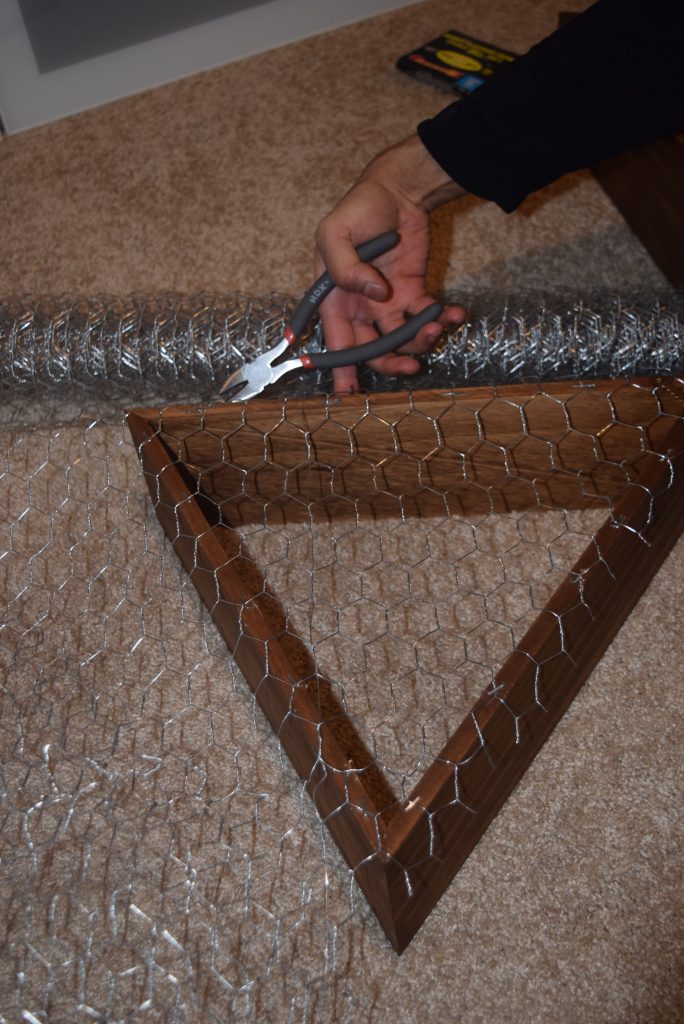
Once the stain has dried up you will need to prepare the wire netting, wire cutters and electric staple gun. Make sure you wear thick gloves for this step because the wire is very sharp.
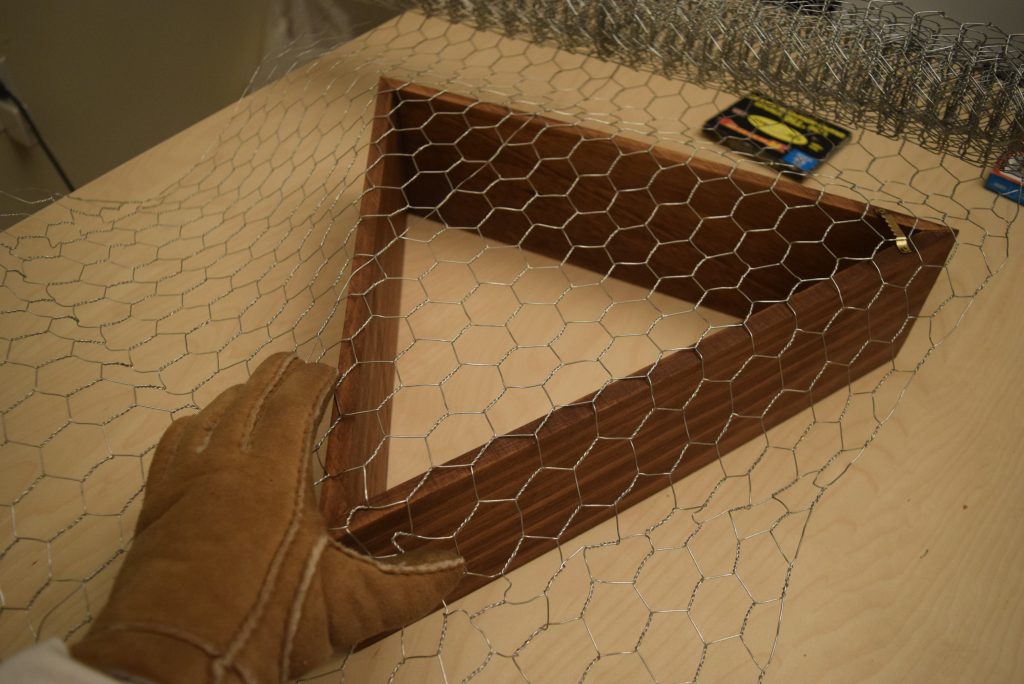
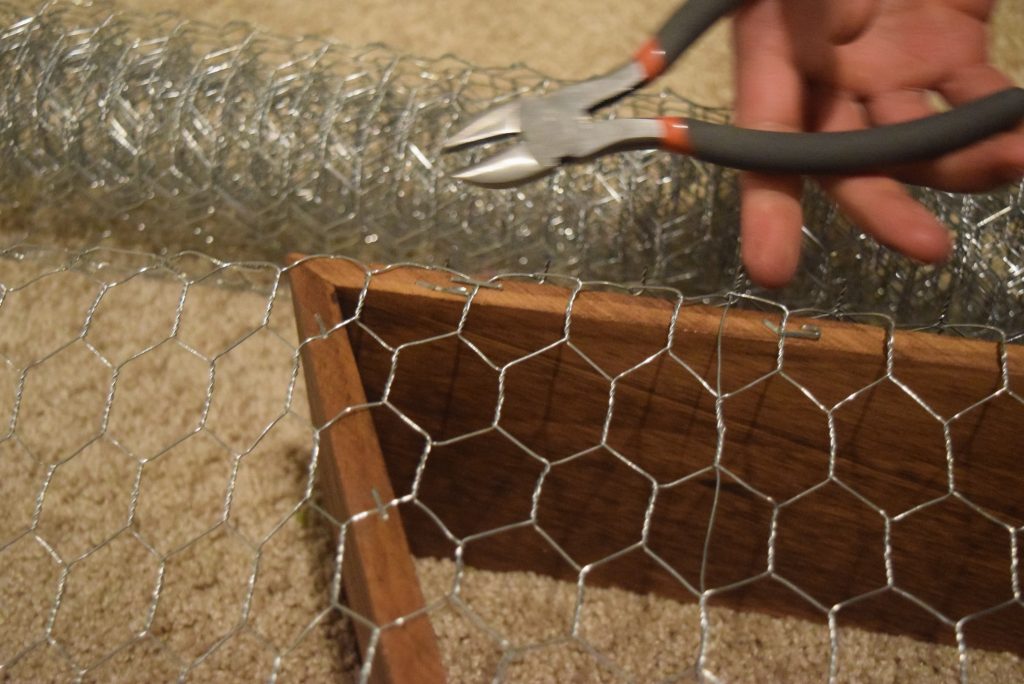
Carefully lay out your wire netting and place your shelves behind it. Using a staple gun, staple the netting to the edges of the wood. Once the netting is secured, use a wire cutter to carefully cut the excess. Repeat this step until all wood shelves are done. Then go back and secure anything that looks loose. I went back and forth with the staple gun and the wire cutters to make sure no wires are sticking out.
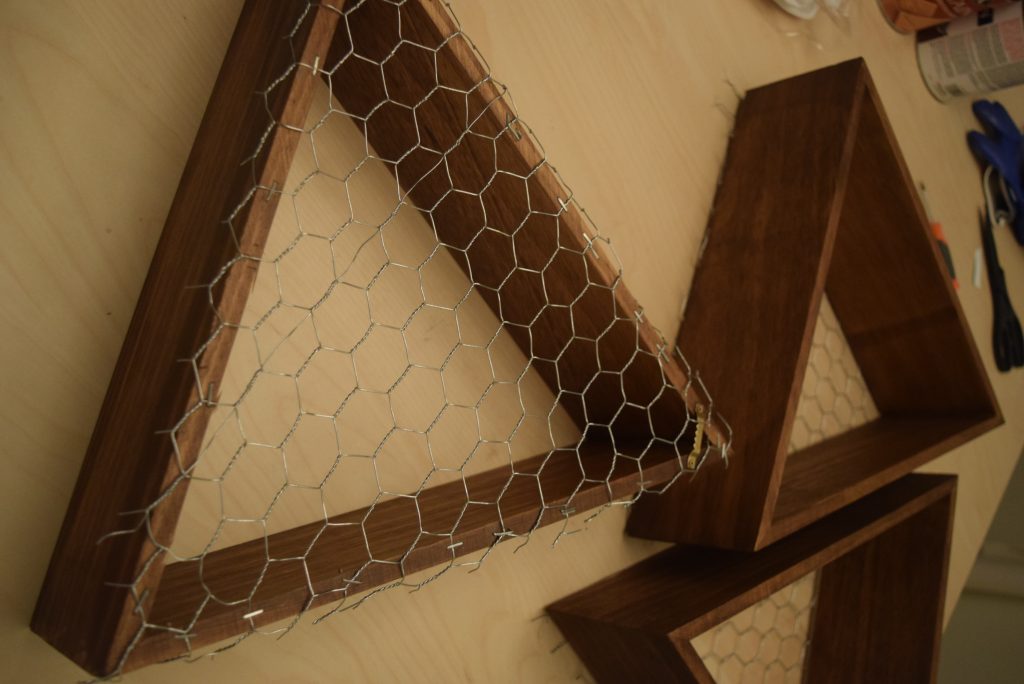
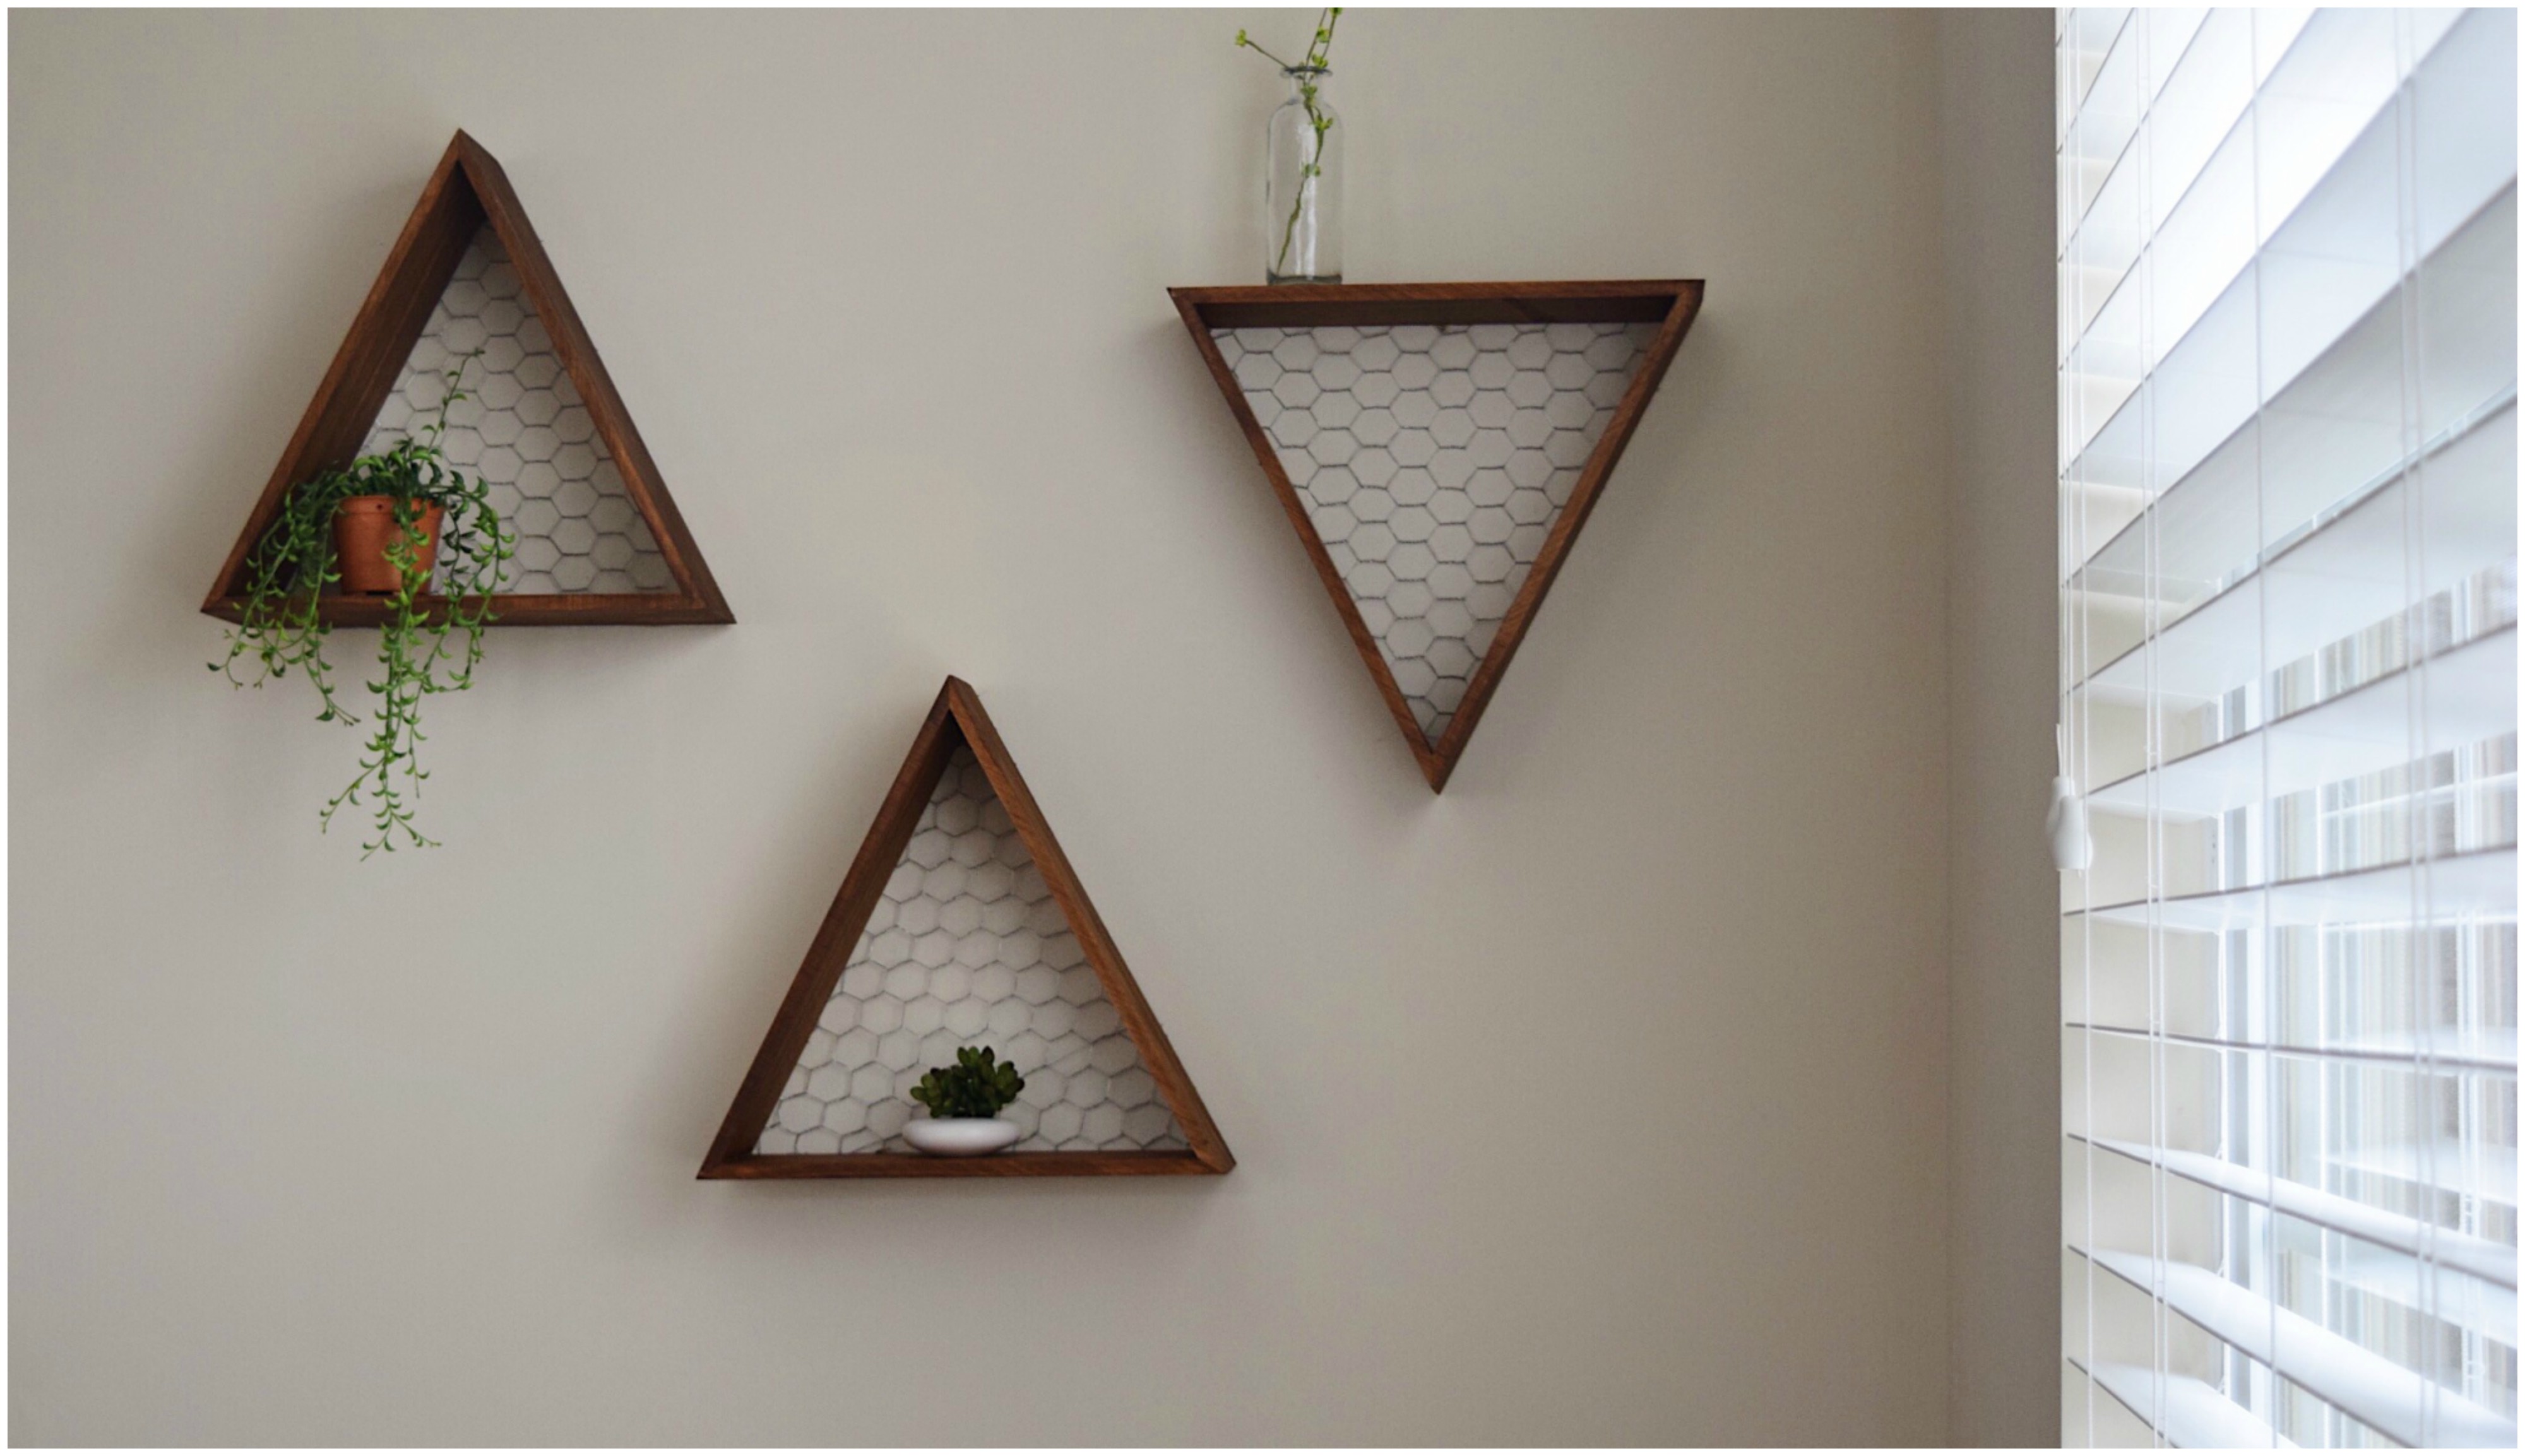
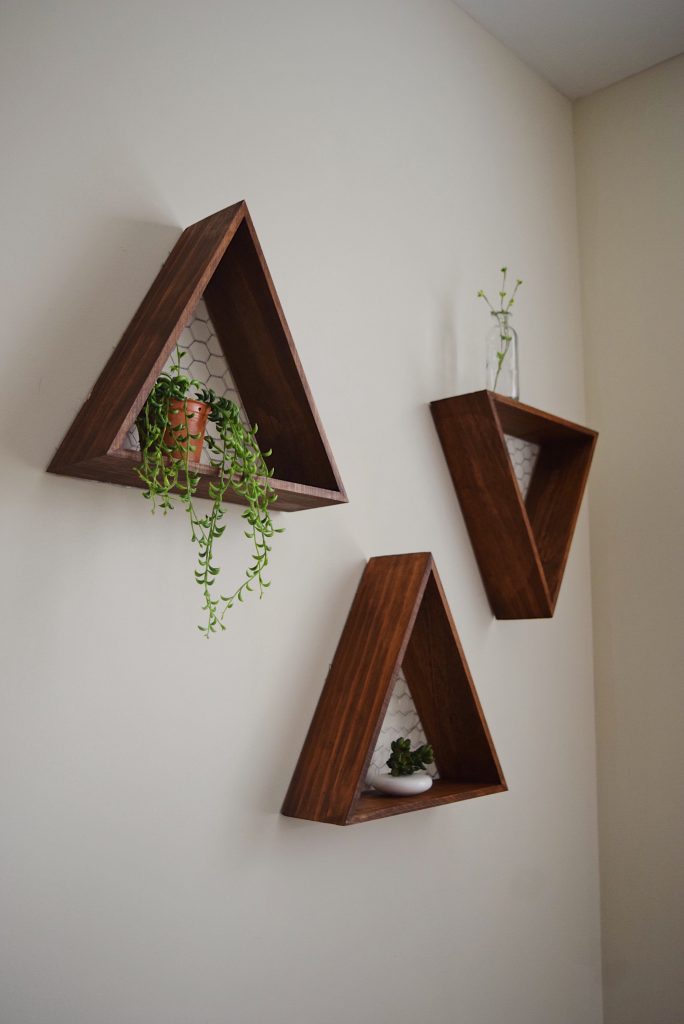
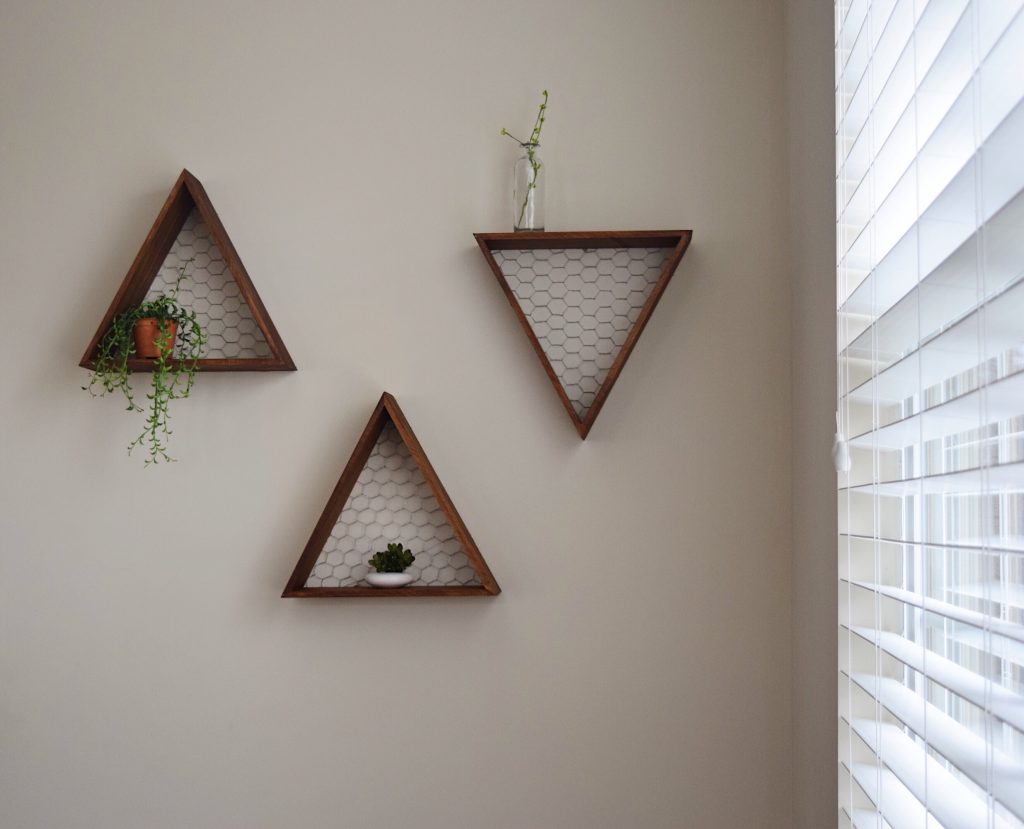
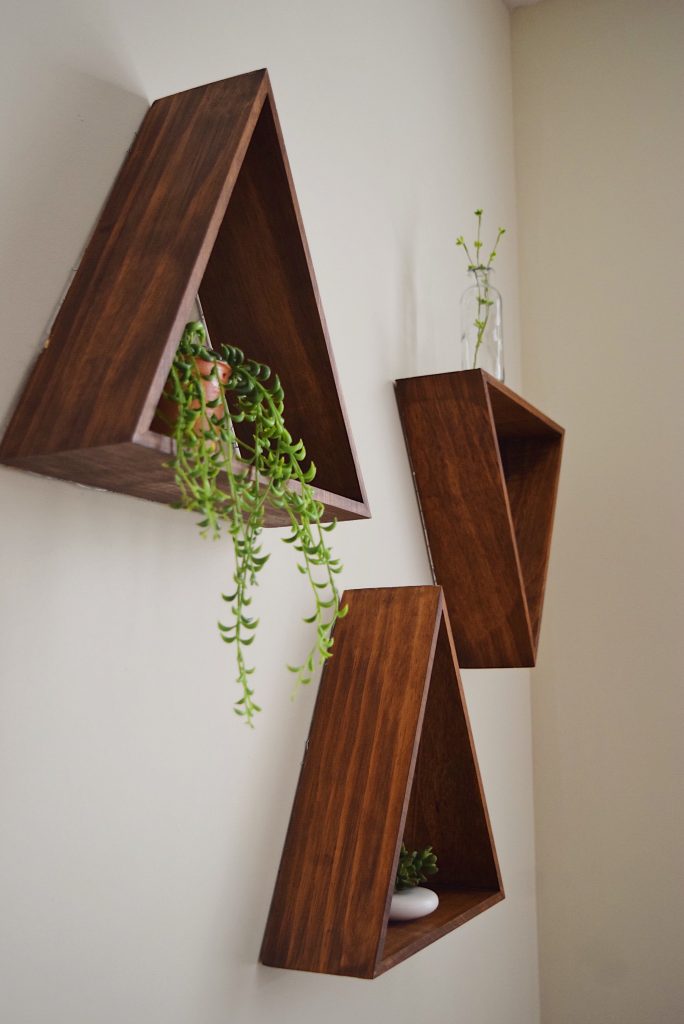
And that’s pretty much it for the hard part! I put the shelves up whichever way made sense and then added some décor pieces like artificial succulents and flowy greens. I wanted to keep it pretty simple and not overwhelm the shelves with too many things.
Here’s the finished look!
What did you think?! I completed this DIY all in one day. It was pretty easy and I’m so happy with the results. Let me know in the comments if you liked this simple DIY! Would you make these for your home?
XOXO
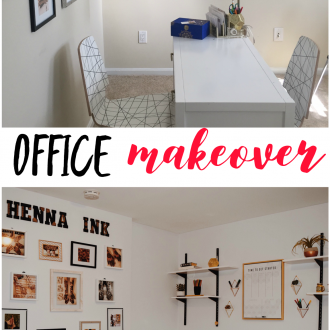
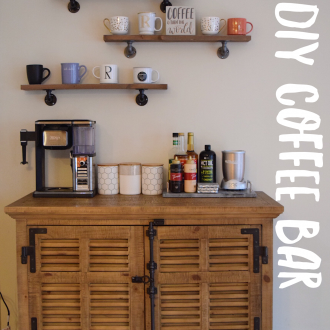
Check out my other projects below: