Girls Bedroom Trim Moulding | ORC
It’s week 5 of the One Room Challenge where I’m giving my daughter a bedroom makeover! I did skip a couple weeks in between but that’s because fasting during Ramadan while DIYing kicks your butt!
I’m back and have made a lot of progress! Last time we left off, I upgraded the closet in the bedroom and now the space is so much more functional. You can catch up on that post HERE.
One Room Challenge Week 5: Trim Moulding
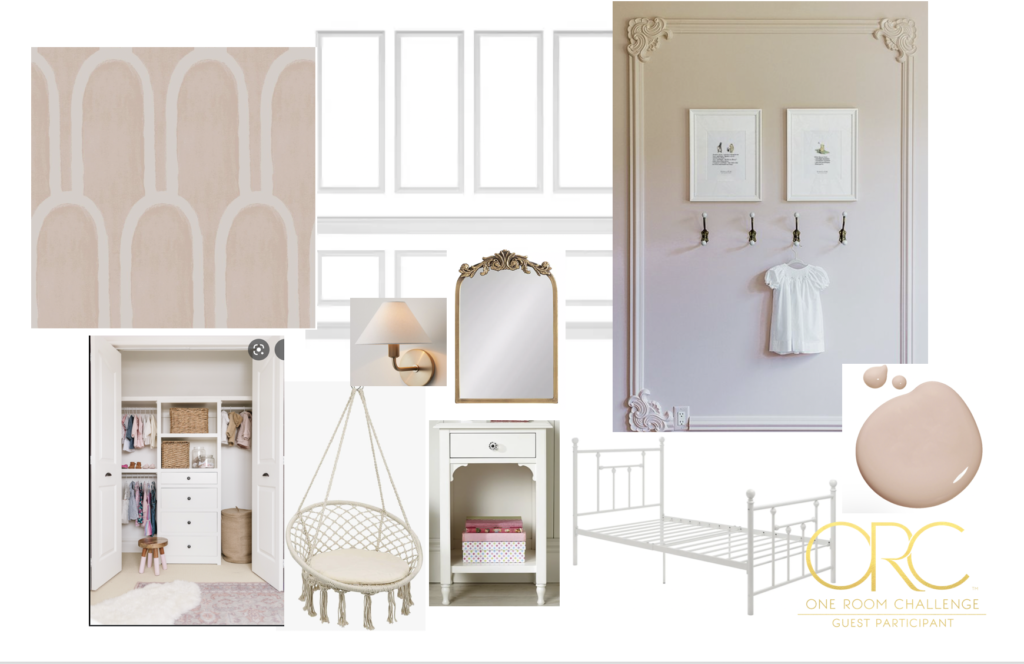
This week we’re starting the trim work and painting. Before we get into that, I wanted to remind you that the look I’m going for is vintage pink. My goal is to add a lot of vintage elements in the trim work and the decor as well. Also, the entire room will be pink, the doors and baseboards too.
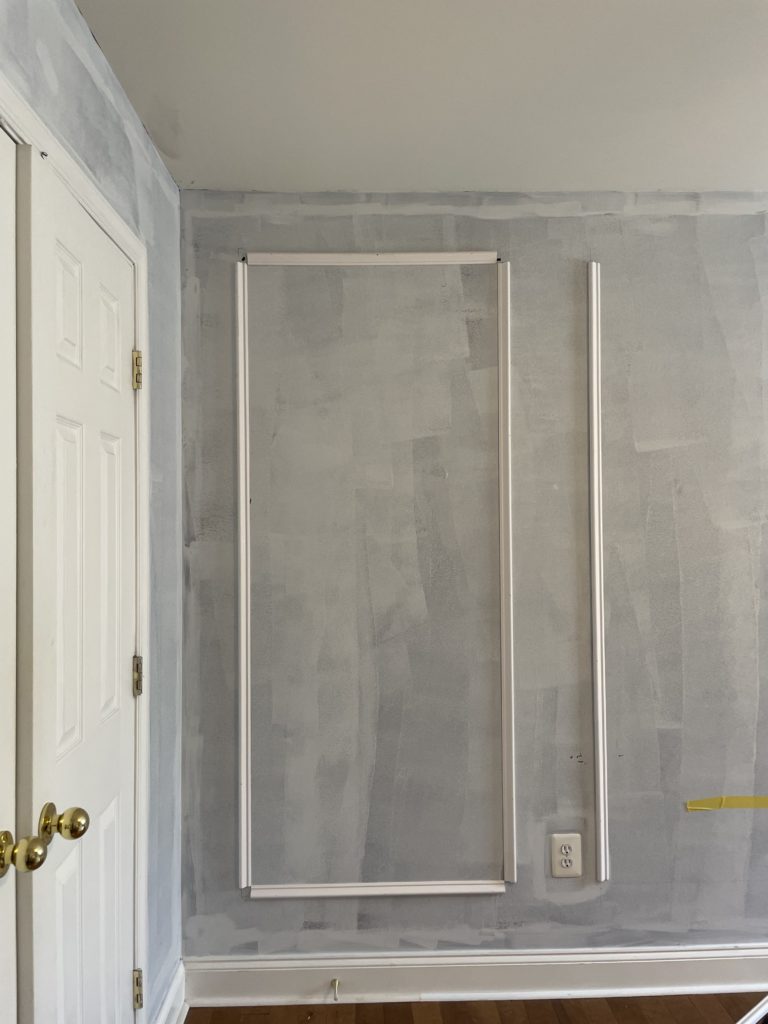
I am adding the trim to the one wall where the bed will go and have other plans for the remaining walls. First up, I need to measure how big the wall is and decide how many frames will go on the wall.
A few tricks that helped me figure out the spacing
- Size of Bed Frame- I took out the headboard of the twin size bed frame and placed it in the middle of the wall. This helped me realize that I want the middle frame to be bigger than the rest.
- Placement of Side Table- I placed the intended side table next to the bed frame to see where it would land on the wall. This helped me proportion out the rest of the trim work
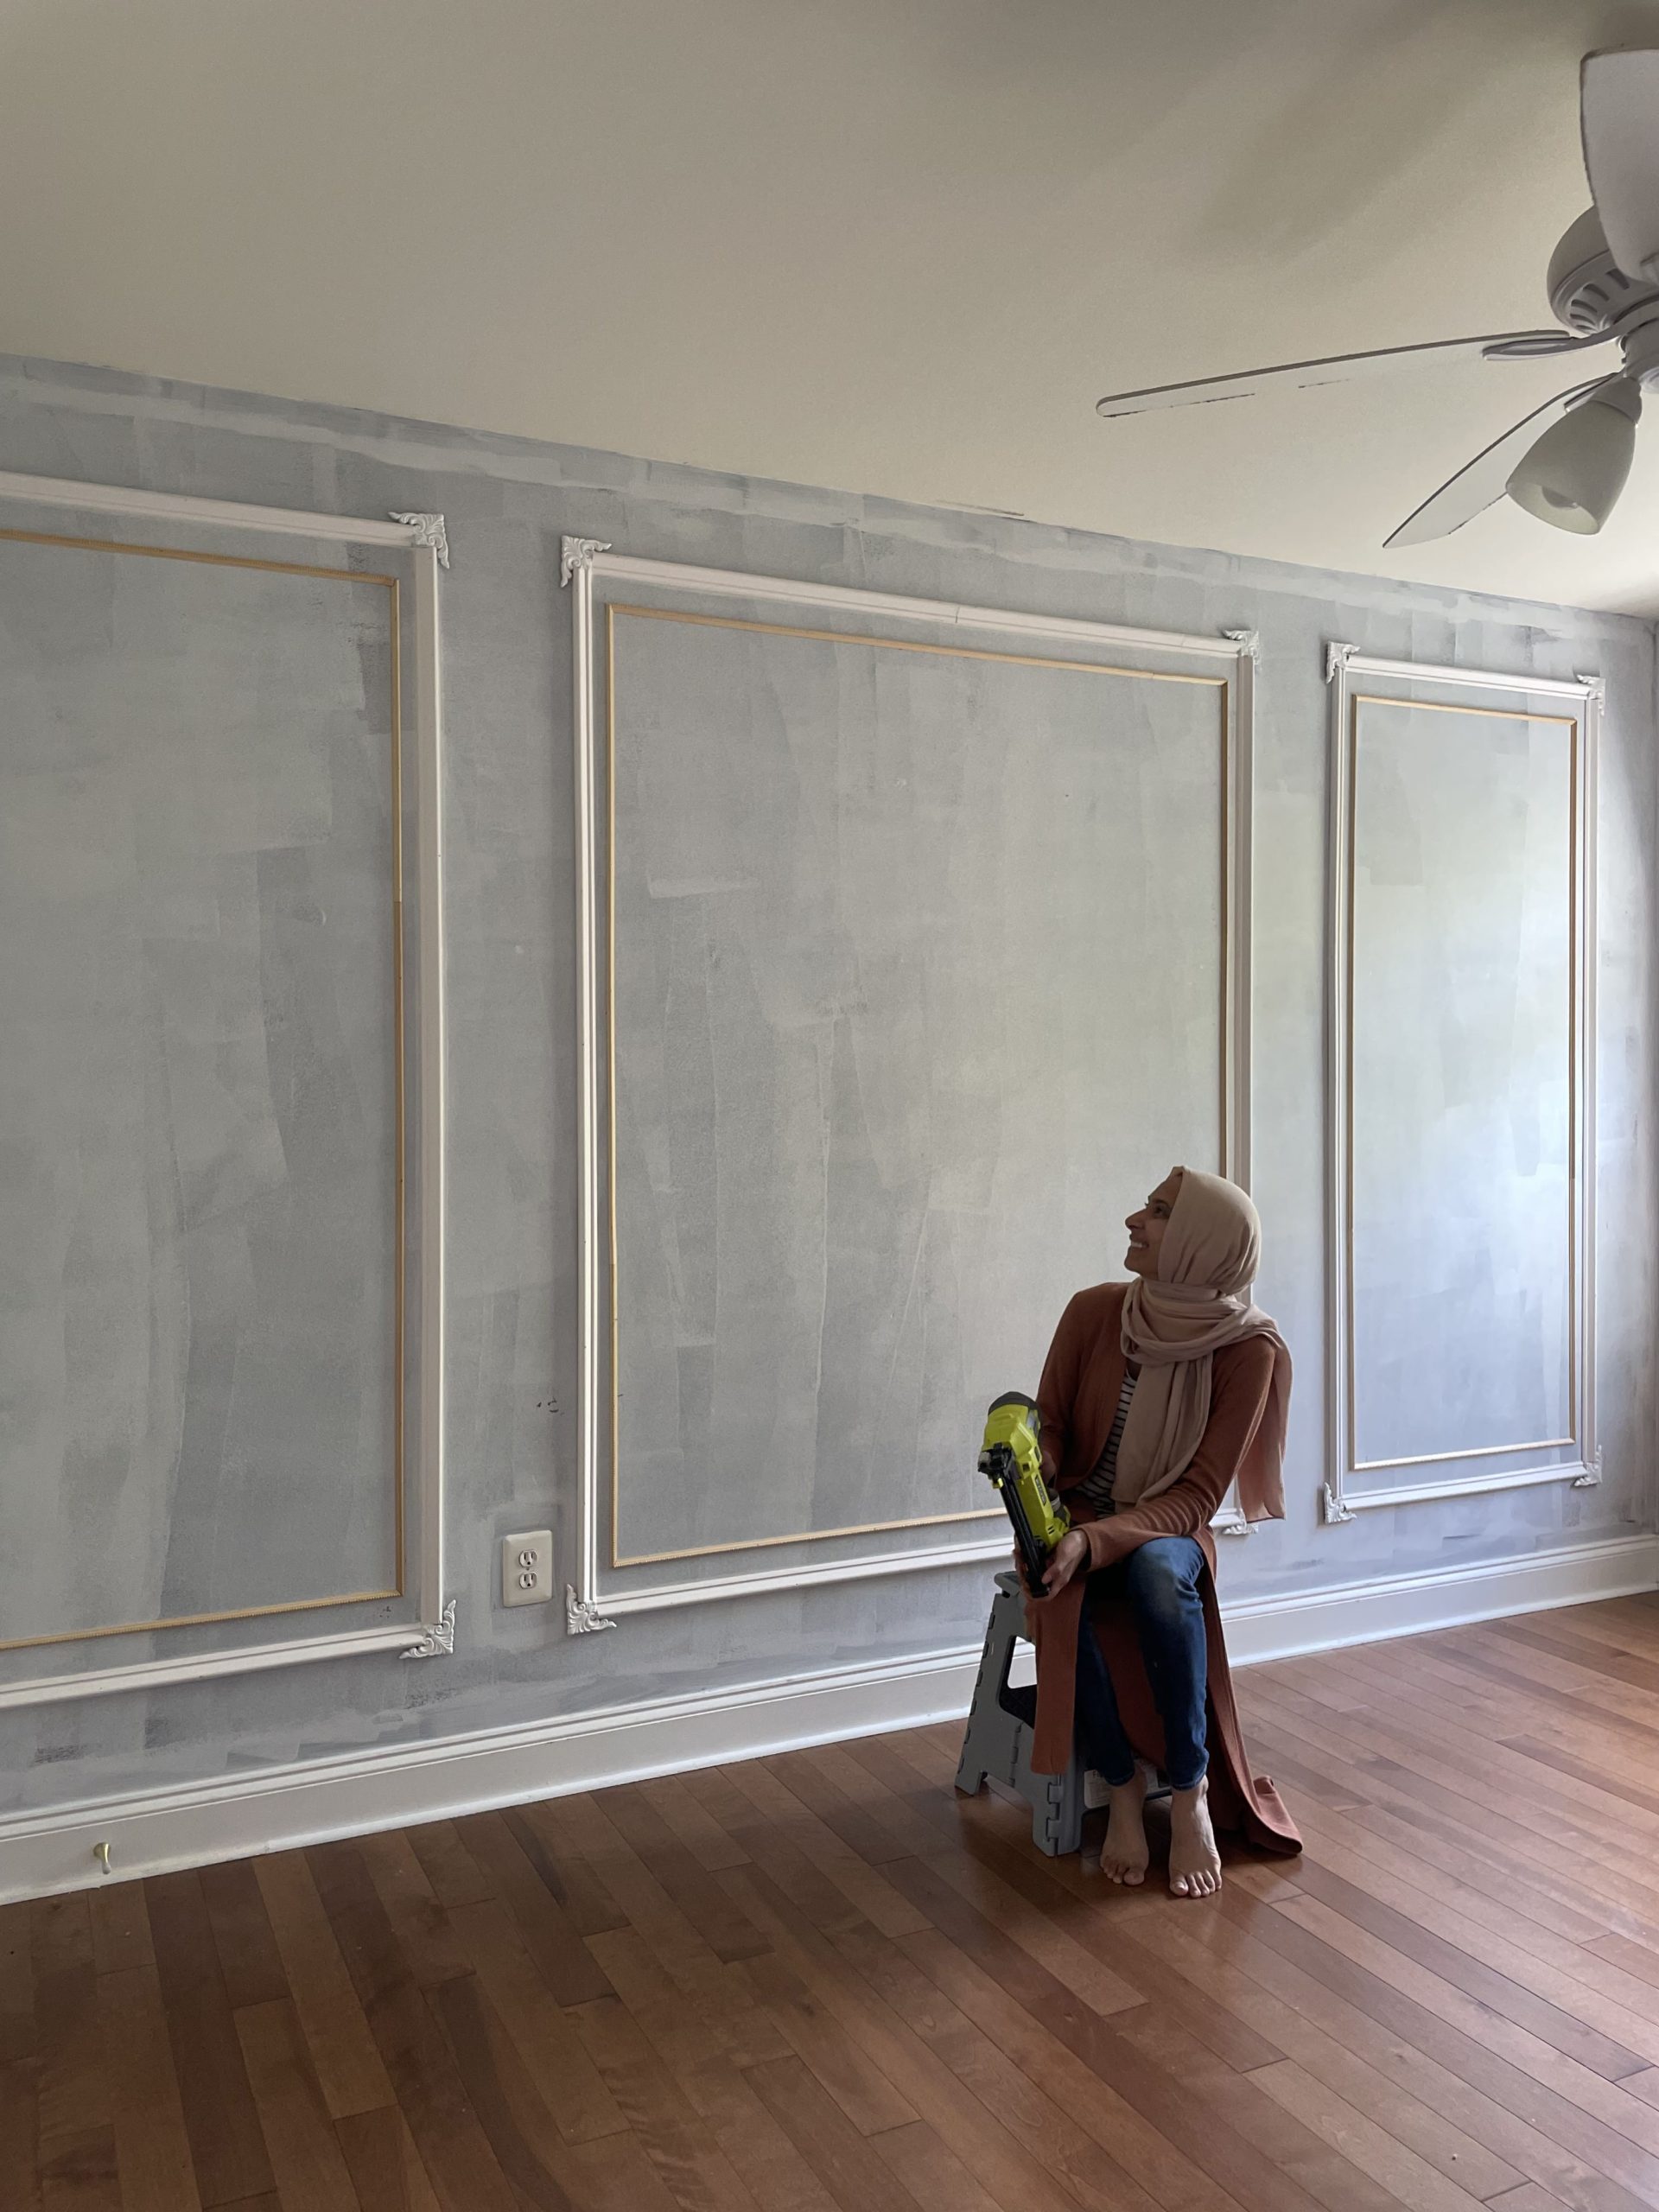
- After placing all of these elements, I landed on 3 frames for the wall with the middle frame being slightly bigger.
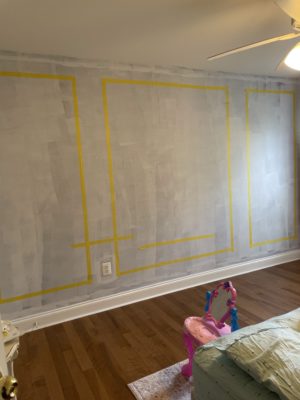
The measurements of this wall took me a few hours but I finally got it! After I taped up where the wood trim was going to go, I finally started cutting the wood. I added decorative wood trim to the corners so cutting the wood was quite simple. No angles needed just straight cuts.
I started placing the trim on the wall and used a nail gun to secure it. The corners were left empty so I can add the corner trim after. I used liquid nails to secure the corner trim. To add a little more details to the trim, I added another layer of trim. I found a thin decorative trim at Home Depot and used that to add another layer of trim inside the frames. It added a little extra detail and I LOVE how it turned out!
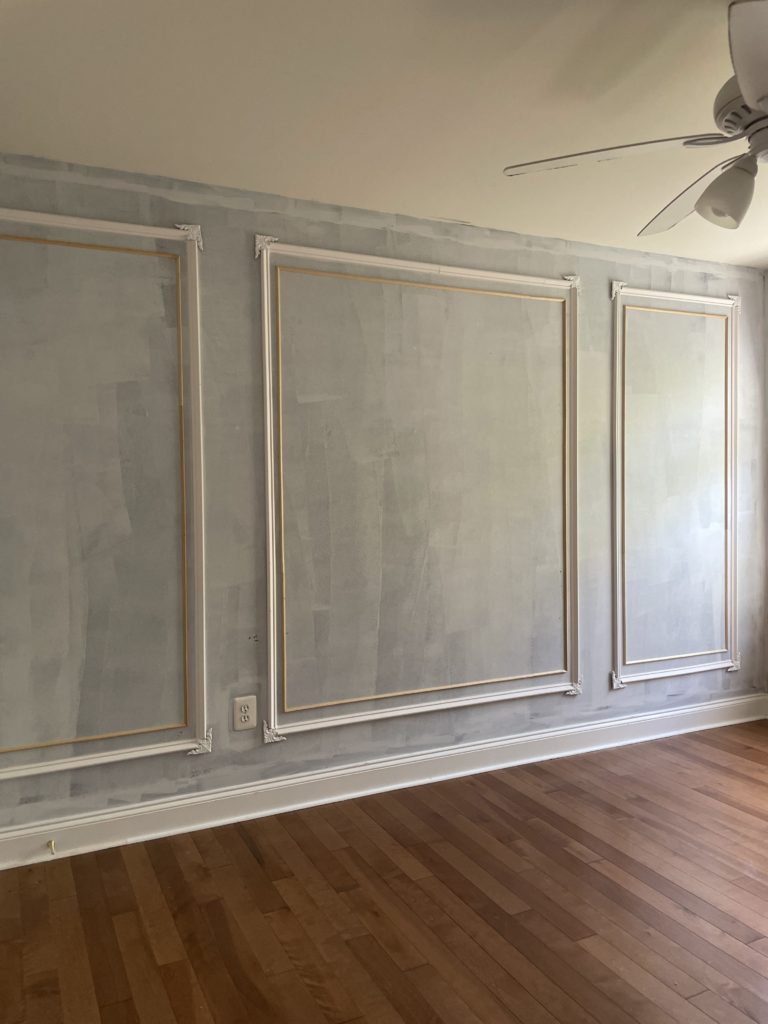
Once all the trim was placed on the wall, I used painters caulk on all sides of the edges so the trim looks seamless against the wall and filled any holes with wood filler.
Next week we are going to start painting the room which I am so excited about! There may or may not be a handmade mural on one of the walls!